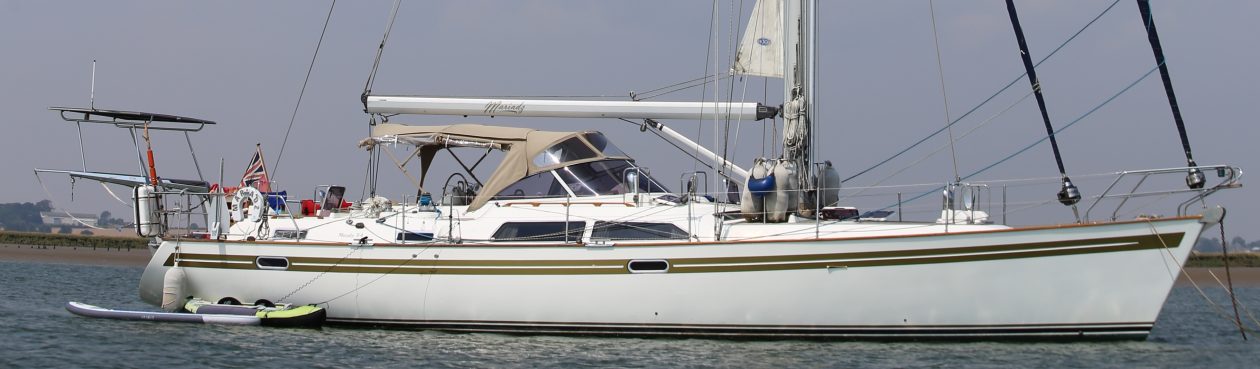
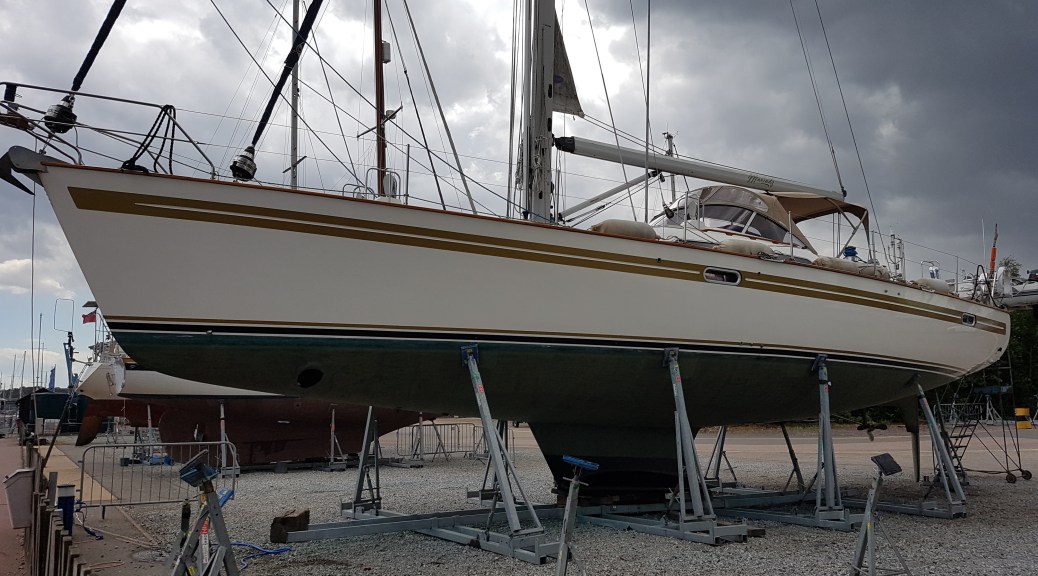
Coinciding with our annual holiday to Italy, we decided to take Mariadz out of the water to have some essential work done. There were a number of things on our list. Firstly, earlier in the year we had a valve for a throughhull fail and we were concerned about certain others. With our long term plans in mind, we decided to replace all throughhulls although we thought we may salvage some of them. With air conditioning, deck drains, engine, generator, water maker and toilets, there are twenty through hulls below the water line on Mariadz. One of these had already been done! In addition, the keel coolers for the fridge and freezer, built in to two of the through hulls had also failed and were depressurizing our system. So these needed to be replaced too. While we were out it was also time to rekey the coppercoat, refresh the antifoul on key spots, check anodes, service the prop and polish the topsides. In addition we wanted the teak to be cleaned and some internal work. A fair amount of work to get done in three weeks. For most of our boat owning life we have used Watercraft UK, Steve Pike, to do these jobs and we had spoken to him about doing this earlier in the year because we know how busy he gets and wanted to be sure it would get done. Having ordered the through hulls, I spoke to Stevie to discuss the work that needed doing a few weeks before the lift out. He was even busier than we expected and he mentioned that the through hulls would get done but that the other work would need to be “prioritised” and some of it done when the boat was back in the water and we were back from holiday. Maria and I discussed our options and decided, on this occasion, we couldn’t afford there to be delays and issues with the work. We spoke to Terry Clarke (Terryclarkegrp@gmail.com), a very experienced “boatie” who does a lot of work in Ipswich and has an excellent reputation. Terry went through the list with us and agreed to pick up the work. I just had to break the news to Stevie! That done we were ready to take Mariadz out of the water. 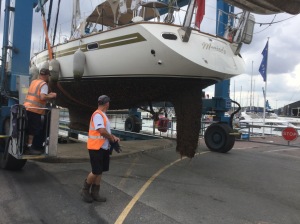 Maria was going to be busy working so I asked Phil and the team to take Mariadz out of her berth which was done professionally and carefully. As she came out, there were quite a few barnacles and weed on her. We also checked the prop since we had quite a bit of vibration from the prop which you could hear in the aft stateroom when under power. There were a number of barnacles on the prop which could have caused the blades to not fully deploy and hence result in vibration, so the servicing of the prop is very important and something we need to check after its service. As part of the lift out service, Mariadz is pressure washed which cleans nearly everything off the hull and then she is put in her place for the next three weeks, as we move onto the motorhome.
The biggest and hardest job is the 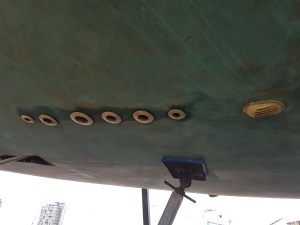 through hull replacement and Terry and Ben get started on this first. We quickly find that the hope that we would be able to keep some through hulls or even salvage some of the existing ones. Very quickly this became a pipe dream, as the through hulls started to come out.
 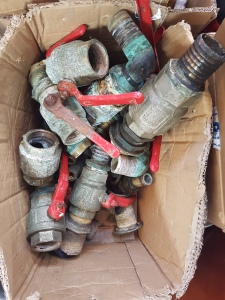 Some of them were wobbling in place, some were becoming pink inside (a definite sign that they need changing) and some of the valves would not close properly which of course is a big issue if you needed to close these in an emergency.
 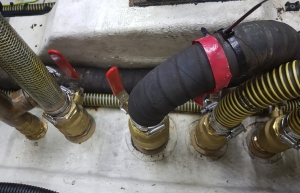 The replacement goes really well despite some access issues and all of the through hulls are now changed. The two in the galley which also acted as keel coolers for the refrigeration are replaced with standard large through hulls and the keel coolers are moved slightly. These are changed from the vented coils to two porous blocks, with their own anodes, that soak up the water and cool the fridges. Apparently this is a new
 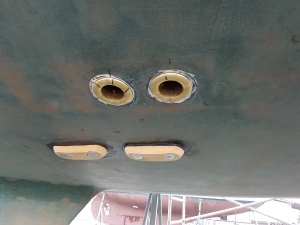 design which cannot be blocked by weeds etc. so we are hopeful that our fridge and freezer issues are finally solved for the last time. Also with the removal of the temporary fan solution, the noise in the galley has also reduced. The rekeying of the coppercoat is done with a light sandpaper after I have gone round and removed the last remnants of any barnacles on the hull. The hull anode which was replaced earlier in the year was also reasonably worn, but with some life left in it, but we decided to change this at the same time. The hull had been well polished and is looking fantastic.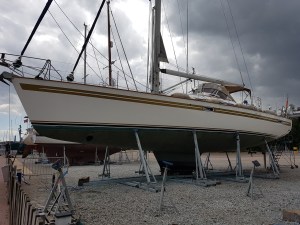
Mariadz has three air conditioning units and for the last year we have had several issues with the unit in the forepeak. In the end this was traced to a new control board unit and I had to order this from HFL in Germany, in German! Thankfully, google translate was my friend and it was all achieved via email. While Mariadz was out, we replaced the PCB so one of the jobs when we get back into the water is find out whether this has finally solved our aircon issue in the forepeak.
One of the final jobs was to refresh the antifoul on the keel, P bracket that holds the shaft, a part of the rudder mechanism and finally the bow thruster tunnel. This was all done in the last few days prior to the lift back into the water.
With all of this done, we were ready to go back into the water and this was scheduled, a little later than hoped on the Wednesday following our return from holiday. I guess it gave me an opportunity to do some of the jobs myself which will be useful in future years.
The lift back in is uneventful but before we can get back on 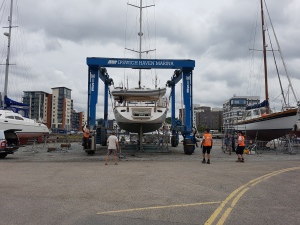 our berth we need to check for leaks and that the through hulls are seated correctly. Terry is on board and checks all of the through hulls. As he comes back on deck, he is pleased that out of nineteen through hulls, none of them leak. I’m not sure I’m 100% happy with the hint of surprise in his voice….only joking, they have done a fantastic, meticulous job and it is not surprising at all. We have some minor problems with the old pipes connecting to the new through hulls but these are all addressed and there is no water coming into the boat. Interestingly, we were told that when the one through hull was done earlier in the year, the boat had to be relifted because the new one leaked which makes us even happier with our decision to use Terry!
Mariadz is returned to her berth and I can start to get the boat ready for Maria’s return. The first job is to check that the air conditioning unit is working. We bleed the pumps and switch them all on, after we have double checked that the though hulls are open of course! I also have a similar issue with the electric toilet where there is an air pocket in the pump and this needs to be bled. Cleaning, putting the carpet back down and making beds before Mariadz is ship shape.
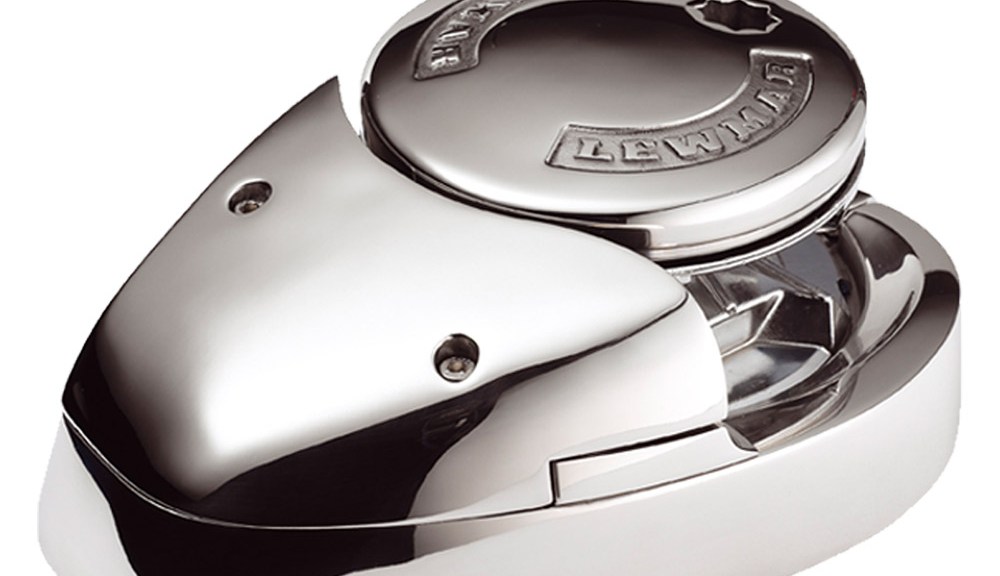
 To be fair, it was pretty much the only thing that worked as it should when we got the boat 🙂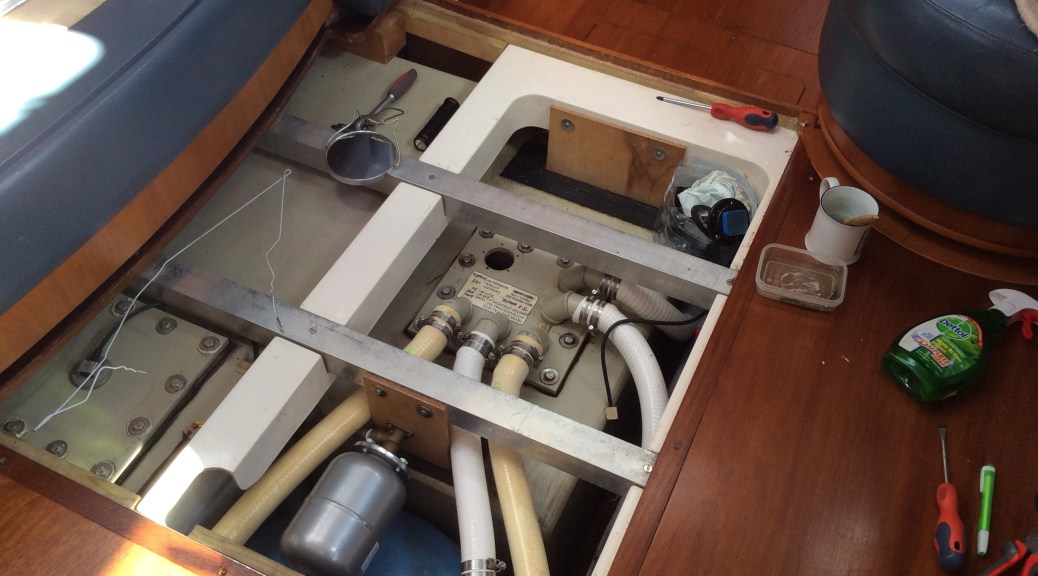
 the smell was more pronounced. Oh dear, this is going to be nasty. Inspection around the holding tank showed that there was no leak, that was a relief. We also knew that the holding tank was empty since we had emptied it a few weeks ago. Over the last few years we had changed a lot of the pipes, hence the white pipes in the picture. The creamy coloured pipes are the remaining pipes but these appeared to be fine with no smell coming from them. We decide to try and trace where any gas is escaping the system by putting a fairy liquid solution across each of the pipes and around the top of the holding tank. This reveals that the “gas” is escaping from around the sender unit that shows whether the tank is full or not. It also revealed a small split in the pipe that led to the sea discharge, maybe this was enough to let the smell out? Rather than replacing the new and clean pipe we decided to put in a join and replace the split part with a new short length of pipe. This was uneventful, having heated the new pipe in a pan of hot water for a couple of minutes to ensure that the 38mm pipe went onto the 40mm fitting on the holding tank…. a snug fit! But we were not convinced that this constituted the full extent of the problem. We then decided to add some water to the tank and discovered that the tank was under pressure when I opened the pump out and heard air hissing. The setup on the Moody has two inputs from the two toilets, a deck pump out, a sea discharge and finally a breather pipe. With a breather pipe which works both ways, there should not be any pressure. This led us to do some investigation on the breather pipe to try and understand why there is pressure. Firstly we wanted to check that the breather pipe in the holding tank didn’t have a long downpipe (I.e. That the breather wasn’t connected to the pump out by mistake. Having checked which pipe was which and removed the tank inspection panel, it was time to hold your breath and open every window on the boat! That is definitely the smell…. but the pipes are the right way round – quick put it all back together again! Consulting the owner’s manual revealed where the breather pipe left the boat and it was interesting to see that this was a smaller pipe than the inch and a half pipe leaving the tank. A reducer somewhere perhaps? It also appeared that there was a join with another breather pipe…very confusing. The breather pipe goes forward and we can see it doesn’t come back at hull level, so maybe The return is high and is in the headlining? Removing fifteen screws allowed us to check that this wasn’t the case! Great now to put them all back again. But we are still confused as to how the breather is working. We decided to force air into the breather using a footpump from the tender. There was a bubbling coming from the sink! The grey water system linked to the black water system for a breather??? Surely we would get foul smells from the sinks.
 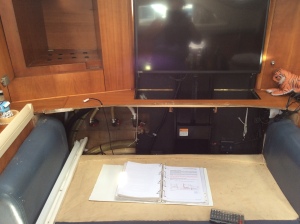 Tracing back the pipes revealed that the join in the breather pipes was from both grey water boxes and wasn’t linked to the black water breather at all. Back to the manual….and tracing the breather pipe forward behind the TV and up further forward. Check the hull to find a second breather, so the manual is incorrect and the pipe runs further forward. Ps, this breather isn’t the fuel breather which is adjacent to the fuel cap or the fresh water system breathers which are in the cockpit…
 Some of these had clearly never been recessed, and so we wanted to cover these with teak plugs. I had borrowed a drill bit that was 10mm wide with an extended central point that makes the hole in the fibreglass under the teak but I was keen not to drill down too deep and was concerned that I wouldn’t have enough teak to hold the screw and allow me to cover it with a teak plug.


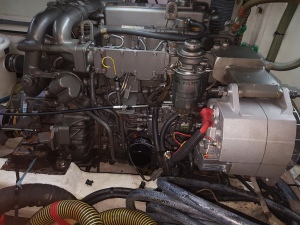
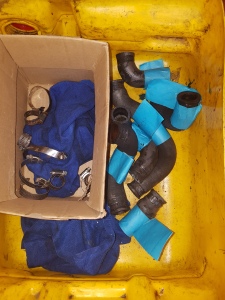 Some of them do not have great access so someone with small hands is best. Firstly Houghton It is very important to completely empty the coolant before you start! We don’t want a messy bilge…. Each removed pipe is labelled so that we know what we have replaced and jubilee clips are replaced as required. As part of this work, various engine parts were cleaned up or replaced including the thermostat. By the end of this process we will have a pretty new engine 🙂 it takes quite a bit of time to do all of this work.
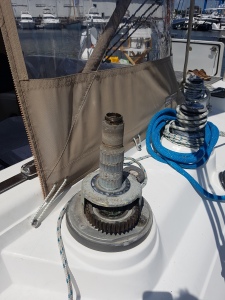 I now get to see what I have to deal with… The entire mechanism is glued together with calcium, salt and lots of old grease which has hardened. The whole thing was solid and it is difficult to see how the thing moved in the first place.
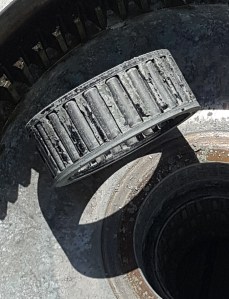 The bearings are equally bad with no movement. At this point I have to admit that the act of cleaning these things up and getting them back together is incredibly therapeutic and does give a great feeling of satisfaction when it is all back together again so thoroughly recommended. When I was young I used to try and fix broken alarm clocks. In common with a number of people I would take them apart and put them back together again, they never worked again and there were always a few spare parts lying around at the end of the process. It is important that this isn’t the case when rebuilding a winch! A nice way to try and stop this happening is to be very organised as the winch is taken apart.
 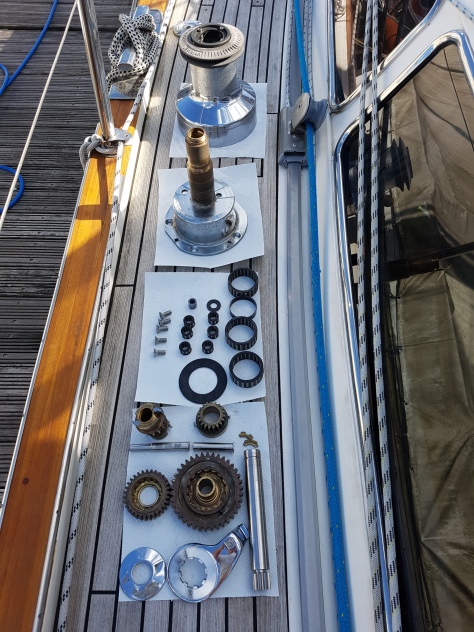 I laid out paper towel on the deck and had each group of parts on a single piece. I found this really helped to make sure that I put it back together in the same order as it came apart. As you can see, there was a lot of work required to clean these up and the whole process, with a few interruptions, takes a number of hours. There is no way I am getting the second one done on the same day.
 That said, the whole area had been lightly bathed in WD40 and plusgas for most of the previous 72 hours so it may not be enough. That still doesn’t work so we will be leaving the thread in their for a few weeks soaked in plusgas and have a go at a later date.


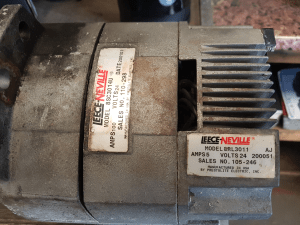 We had found that a bolt had sheered which held the casing of the alternator together. This had come out and had significantly damaged the vanes of the fan, which also explained the noise Maria heard. So we get the alternator off and I will take it to the local specialist to see what can be done. On investigation the alternator is fried and badly damaged which makes it uneconomical to repair. A replacement is available and should be with us within 24 hours.
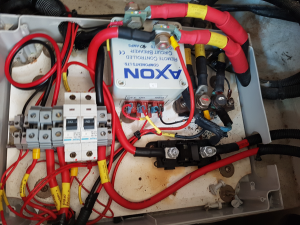 There is a problem, it appears the bolt holding the engine earth to the negative bar is loose (right hand side of picture). This has caused arcing between the cabling and therefore heat build up with some scorching. In fact one of the negatives has corroded and melted the insulation so much that it has melted through another wires insulation and these are welded together. That will be what caused our problems and it could even have been what damaged our alternator. In some respects we were probably lucky the alternator went rather than continuing to build the heat up and potentially start a fire under the bed. This doesn’t explain why the old alternator used to provide the earth to the engine and the new alternator doesn’t, despite being identical. The current view is that this was as a result of the damage to the alternator which provided that earthing thereby by-passing the corroded engine earth. But I will update with more information as it is available.
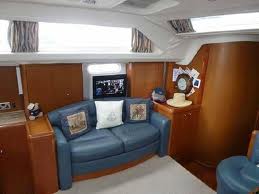 now we like watching TV sometimes but a) how will you see that from the other side of the room and b) who would want the TV on display the whole time anyway! When we had viewed the Moody 49, Mornin’ Gorgeous, prior to buying ours, we had admired the simple setup that hid the TV safely behind the seating.
 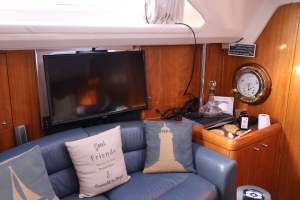 That was now our solution and it would allow us to have a large enough TV that we could both see and watch films on.
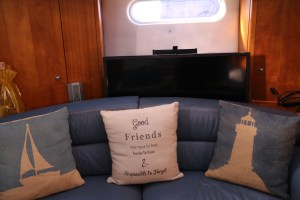 So we looked at lifting cages with remote controls that would achieve the same goal, somewhat more stylishly. These cost more than the TV :(. But work really well and are more stable – quite useful for a boat 🙂 In the end we went for the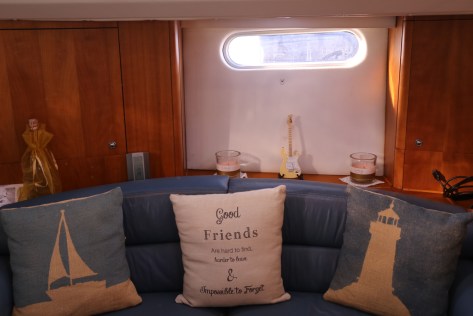
 ) and I had also bought an
  for our bedroom. These are very good quality TVs with excellent resolution, a built in HD Freeview and satellite tuner. I have also been very impressed with the customer service throughout the three year warranty period which has the TV collected and then returned by courier within a few days. I decided to go for the
  . Unfortunately, the original fitter for the lifter had kept the bars that allowed the larger TVs to be mounted so I needed to get some stainless bars made up by East Coast Stainless to help with the mounting. We are very pleased with the result, in fact the earth loop, the buzzing noise from the speaker, also does not happen with the Avtex – that was getting a little annoying!
 on some of the teak on board. This is a varnish-like finish that allows the wood to “breathe”. It also doesn’t need quite as much preparation as varnish with only a light sanding needed to get additional coats on. Once we are away, we will be doing this on a six-monthly basis to protect the wood and keep it looking good.
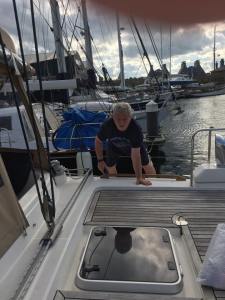 This would then give a smooth finish for the woodskin to soak into. However, it is best to do this with your eyes open and not how I appear in the photo!
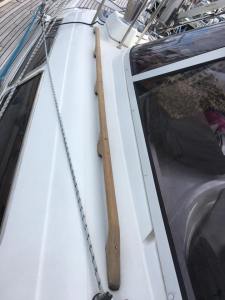 So I started this on the Friday and soon had the handrails back down to a finish that was more acceptable. Having had issues with the woodskin getting onto deck, stainless etc as part of the application, I decided to use masking tape across the bases of each of the handrails. This did take time, since I wanted to make sure that the tape was shaped around the curved handle and provided the protection needed. By late on Sunday, after a glorious sunny day, I was ready for the first coats of the woodskin. The plan would be to apply a minimum of four (light) coats but realistically as many as we can since the depth of colour and protection gets better with more coats. The touch dry time is 4 hours and then 24 hours for it to be fully dry, so a reasonable week of weather and it will be done. I apply the first coat on all four handrails and it looks great so I can settle down, relax and admire my handy work. Five hours later, the first of the rain hits 😦 grrrrh! Fortunately it looks like the woodskin was dry enough but we waited for everything to dry out before adding the additional coats. So three coats down and it has consistently rained five to six hours after I have done them!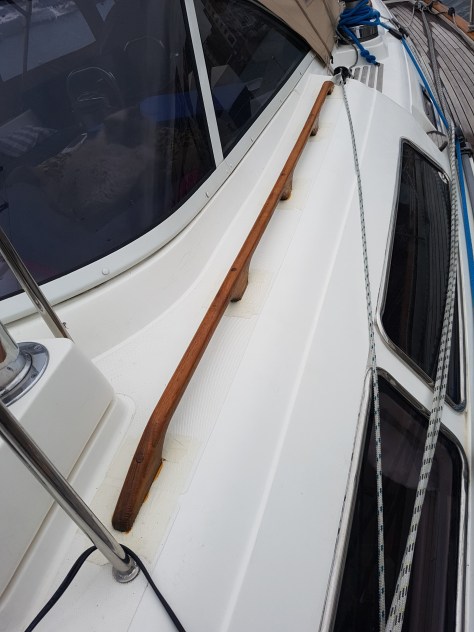

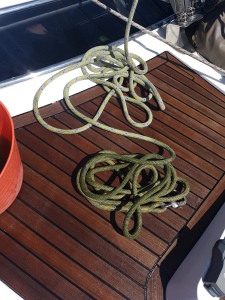 You know it is bad when you can’t tell what the colour the line was underneath the dirt! The picture shows mid way through cleaning, the bottom green part of the line had already been soaked for a while and was a lot cleaner than when it started – although still disgusting!
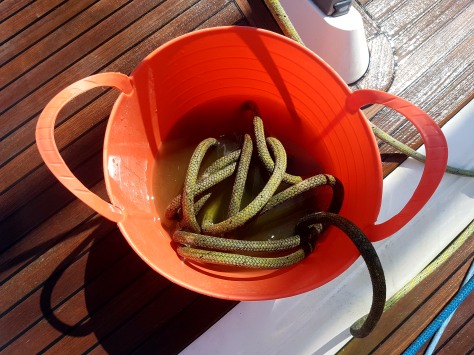 Our technique was to have a hot bucket of water with mild washing powder and fabric conditioner in it. Spray down the line with a hose to start with and then immerse it in the bucket for some time. Having given the water some time to get into the rope, I then painstakingly went through each metre of line with a soft brush, cleaning off the dirt.
 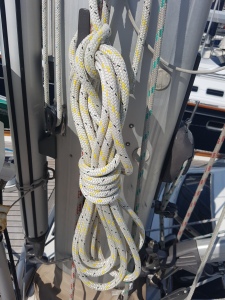 The final touch was to spray down the line with more cold water. It is tedious, hard work but very rewarding when you see the difference at the end, with the lines looking like new. They are also not stiff anymore so we should find that they work smoother and better than they did.