We don’t like grey/silver teak and we know that is how it is meant to look naturally but sorry we like our wood brown!
So we spent some time investigating treatments that would make the wood look good but still allow it to breathe. Varnish is a lot of work especially in the sun and we would have to sand down and reapply regularly or the wood would look awful.
Eventually, we opted to try International Paints Woodskin. A number of the forums ad good reviews of this and we thought it would make the teak table stand out. 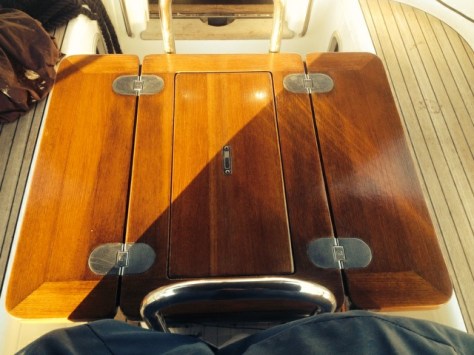
We are really pleased with the results and this is one where a large number of light coats works a lot better than a thick coat. It just needs reapplying every six to twelve months when you are in the sun and it will continue to look great.
Having had success in this area we decided to use it elsewhere on the boat but more of that later!

At some point prior to our ownership there had been a minor fire caused by a faulty dehumidifier. This had caused fire, smoke and water damage. Unfortunately, the previous owners had decided to repair the damage at the cheapest possible price and cut a number of corners. Apart from rebuilding the galley that makes maintenance even more difficult than it was before, they had also decided to “enhance” the interior by fitting the units in the galley with Formica. This meant that the French polisher I asked to refurbish the saloon shortly after we got Mariadz, pretty much laughed in my face about the chances of being able to match the wood. Apparently due to different materials and sun lightening he had identified seven different colours of wood in the saloon alone.
So clearly we needed another approach we spoke to Stevie Pike from Watercraft UK based in Ipswich.

We discussed some options and looked into a way we could return the wood in the saloon to its former glory using an iron-on veneer.
This was not an easy job. All of the headlining had to come down and each panel done individually. The temperature is very important too or there can be problems with adhesion. With lots of painstaking work each panel was recovered and then stained. Clearly this isn’t going to be equivalent to a brand new luxury boat but the results are impressive and this has made her look 100% better. Now we just need to keep the curtains and blinds closed to protect the wood from the sun!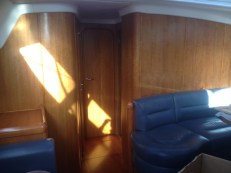

Unfortunately, Moody yachts are famous for problems with the headlining.  Ours was made worse because every window in the saloon leaked which meant that rainwater went behind the headlining and destroyed the glue between the headlining and the fibreglass. when we first got the boat, we found that the headlining near the curtains was actually falling off the wall.
We spoke to Stevie at Watercraft UK about what we could do and he worked with a specialist to try and resolve this problem. Some of the work was excellent, double stitching looked good etc. The problem we have had is that the glue has not been sticking well enough. So we are still looking for the perfect solution but it is a lot better than it was. We then did the same in the sea berth but have had problems there too with the headlining sticking to the ceiling – more thought required.
"Two people, two cats, one dream"