
When our first boat chose us we didn’t need much of an excuse to go out sailing and sailed throughout the winter. We would be in our wet weather gear with wind and rain lashing down and still having fun. As it dawned on us that we could sail whenever we want and no-one was taking it away from us, this changed somewhat. With the fitting of a cockpit canopy on our Dufour, which had all round visibility, we still travelled in the winter but the dress code was more relaxed -Maria would be in a onesie or pyjamas.
When we moved aboard Mariadz two years ago, this changed a little more. One of our rules is that the boat has to be ready to sail within 30 minutes. Not because we are trying to get away from irate neighbours but because we found if you need a few hours to tidy away the clutter, the urge to go out wains. That rule has helped us a lot during the summer, especially if we are working from home the next day, since we are able to get out of the marina and down river to anchor. The world seems a different place then!
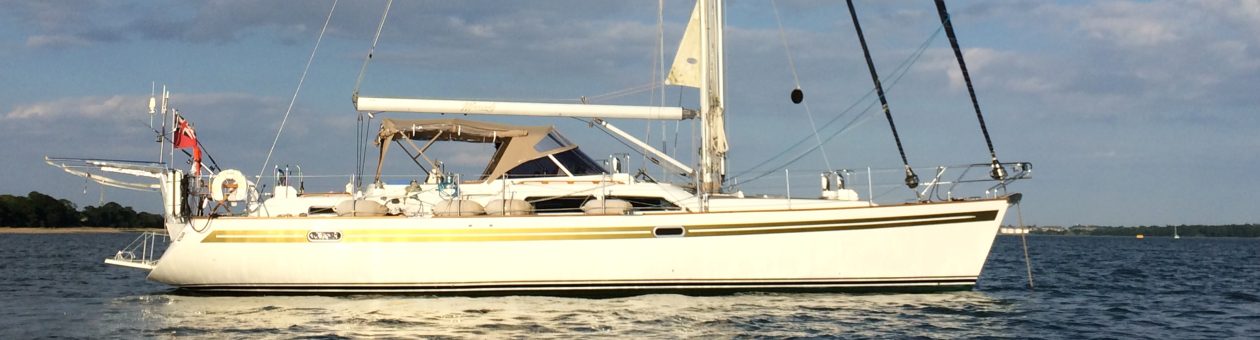
This helps us to get out a lot during the season, even if it is just down the river for a short sail and an anchorage for the weekend. Also because we are liveaboard the weekend gets extended as I have blogged previously… Liveaboard vs Weekend sailing . The cockpit tent on the Moody has also been a godsend, and if the weather is less than perfect, we are safely and cozily tucked up inside, with Maria again in her pyjamas!
However, since becoming liveaboard, when the nights draw in, we rarely venture out in winter. So now, in common with a lot of sailors, we do maintenance at this time.
In the winter, even staying in the marina, the cockpit tent comes into its own.  With two adventurous cats on board, we would be constantly opening the companionway to let them out. As an alternative, not because we are lazy but we would be doing it every five minutes, we hang a heavy curtain over the opening which they can squeeze past. However, this would let the biting north wind “squeeze” past too! Our spray hood has a zip in backdrop, which effectively acts as a mini cockpit tent, our porch! The cockpit tent itself also reduces the wind and cold getting to this place so effectively we are “double glazed”. It means that little cold will get into the boat which is also helped by some additional covered tubes like swimming noodles, that we thought would stop the cats escaping and keep out the cold. They are no good for stopping the cats – clyde just pushes past them!
So that explains the setup so what could possibly go wrong…. We like to keep warm and so the saloon is heated and some of this warm air will escape past the thick curtain into the cockpit tent. The combination of warm air and the cold air from outside causes damp on the inside of the cockpit tent, especially if the waterproofing is not perfect. This dampness is a perfect breeding ground for black mold.
We noticed this the first few years of having the cockpit tent and spoke to Dolphin Sails who cleaned up the canvas. But we recognised we needed to be able to sort this out on our own. Having bought all of the specialist cleaning gear for the weathermax and strataglass, we knew we could do it ourselves.
It is a multi-stage process that takes time and dry weather but it has been very successful for us. Firstly you need to use a mold cleaner to get rid of the black dots. Don’t be tempted to leave this on too long, most of them contain bleach and we don’t need to change the colour of the thing. Next use the cleaning fluid which will bring up the canvas like new. The final step is to reapply the waterproofer. A lot of people use Fabsil but Dolphin recommended one that we could only get from Germany but has done an excellent job Holmenkol Protection
, the postage was high but if you bought enough, and it took three cans to do ours inside and out, then it is less of a problem. So with a cleaned,”de-molded” and waterproofed cockpit tent we are ready for the winter.
There is one other thing we have had to do this year though to get the cockpit tent back to perfect. A number of cockpit tents use push studs to attach to the cockpit. Ours is attached by bungee chords which also means that it is adjustable if there is any stretch or as temperatures change. Unfortunately after a few years the bungee chords are UV damaged and stretched.  Replacing these is easy, and it gave us an opportunity to select what we felt was a better colour match. This is not an expensive or difficult job. We ordered 6mm Bungee Shock Cord
. Getting these to a tension I was happy with took some time but you just move the knots to shorten or lengthen the bungee before trimming and sealing the end (for which we use a gas lighter….gently). Doing sixteen of these meant that everything was as good as new and we are ready for a cold winter. We still had enough chord left to do this a couple more times so that is all in the spares store on board.
The first of the routine maintenance jobs is done.

 The safety aspect of the extension is evident but the additional space means that we can mount additional items on the pushpit such as our
  The design of the frame means that the grill slots into a round aperture which is braced on three sides so that the whole grill is held on the top bar and the bottom bar of the pushpit.
  This work is now completed, at the end of October, so not ideal BBQ weather but you know Maria will want to use it straight away 🙂 The frame can be easily removed and folds flat for storage or it can be left attached to the top bar and folds flat.
 Fortress FX-55 anchor that we have purchased to complement the 40kg Stainless Rocna anchor on the bow. The plan is to use this as a kedge anchor when required but also as a second anchor from the bow when tandem anchoring may be useful. The design of this was loosely based on a similar setup used by Discovery yachts on their 55s, which use the same anchor. The anchor should be available quickly after attaching a small length of chain and the anchor rode that is stored in the locker on deck. However, the East Coast Stainless boys took some time to make sure it was designed right and we are very happy with the results. To summarise the bar of the anchor is secured in a rounded part of the base which is attached to the toe rail. A box like structure at the top is used to hold the shaft of the anchor and the top of the blades. Hopefully the pictures below explain, although the mirror like quality of the stainless doesn’t help…… the shirt is in place as we wait for the rubber to be fitted which will lock in the top of the anchor.
 Finally, we had noticed when cooking that the wood behind the cooker gets quite greasy. We do a lot of cooking and I’m sure some of Maria’s recipes will be along shortly…. We already had a small splash panel that we had designed but this wasn’t doing enough and so we have protected the whole of the panel, up to the extractor fan, with an easily wiped clean stainless panel.