The winter projects were complete and we were keen to get back out on the water having got a bit stir crazy for not being able to take Mariadz out for a sail. We also had a lot of new toys to play with (calibrate) and we were keen to do some of the basics prior to our commissioning trip with Olly from Seapower.
After the engine checks when I added some water to the fresh water expansion tank, we start the engine and had it running for about 30 minutes prior to leaving our berth because it was low tide and we had just missed a lock out. We cast off and Maria eases Mariadz out of her berth. The Allan Gardiner is also leaving at the same time and is in the lock first. However, we are confused. The autopilot indicator seems to be showing the opposite on its rudder indicator. When we turn to port it shows the rudder as starboard! It is amazing how disconcerting that is, especially at low speeds when you may not have much steerage anyway. And we now have to line up against the pontoon in the lock with Allan Gardiner taking up half the lock….
Like most people we have a system on approach to berths and pontoons. I am at the gate amidships with three lines: bow, stern and mid lines. On approach I call out the distance from the pontoon in metres and suggest minor course alterations. Now Maria isn’t sure where the centre for the rudder is and is having to feel her way, and this is the first time we have been out for nearly nine months (the longest time we have ever gone without sailing somewhere). Of course, Maria brings Mariadz in like a boss! At just under 50cm from the pontoon, I step down and walk alongside with the mid line in hand. At an agreed point, Maria gives a burst of reverse gear and stops Mariadz, I tie off the mid line short and take the stern line to tie off. Mariadz is now mine (“all mine”, cue evil laugh). Maria has control of the bow on the off chance something goes wrong, she can bring that back in but as I stroll to the bow and tie us off there is no drama. A couple of springs, the water at low tide comes into the lock fast when you are near the gates, and we are ready to go.
The lock gates open and we are ready to go. We are 100M out of the lock gates and all of th engine alarms start going. The engine is overheating. We assessed our options quite quickly and agreed to aim for the waiting pontoon and investigate further when we are safely tied off. The lines and fenders are moved appropriately and we glide onto the pontoon. I go to the engine room to check what is going on while we leave the engine running on tickover to hopefully get the temperature under control. This is something I was always told to do with cars when they had been run hard. After a head gasket failure I was told how important it is to have a cool down period. Switching the engine off stops all of the cooling system flowing and the engine continues to heat up because there is nothing to take the heat away from the engine. I check all of the stop cocks. The engine intake may be slightly off completely open, must have been knocked but it is a small amount off, so I adjust it. I think that and the tickover is helping to take the heat down, very slowly and the alarm stops.
The next two hours are spent on the waiting pontoon getting the heat under control. It is still running warmer than usual but is back in the green. In this time we have calibrated the autopilot so it does show the correct rudder angle. We have dropped a lead line and checked the offset for the depth. This can also be checked against the new navigation. We also look at the fish finder, radar and the forward facing sonar. No fish 😦 the forward facing sonar is also not showing the depth correctly. Finally the changes to the AIS are checked, we can see everyone else but we don’t seem to be transmitting. I also notice that the main battery bank doesn’t seem to be charging although that may be because of the very low revs.
We don’t seem to be getting back to normal operating temperature and Maria and I agree to abort the trip and return to our home berth. We are obviously being very careful, minimum possible speed and lowest revs. We get into our home berth and as I tie us off the engine alarm sounds again but we are back now and safe.
Unfortunately, it is two weeks later before Lindsay at Seapower is available (bad timing and he is at the start of a major engine project with limited time). In the interim, with assistance from friends we start the diagnosis. The expansion tank still has water in it so we focus on the raw water system. We can see water going through the raw water filter but trying to get the lid off seems impossible, it felt like there was a vacuum holding it fast. Trying to get it off we break the lid, that will be ordering a bright shiny new one from foxes then! 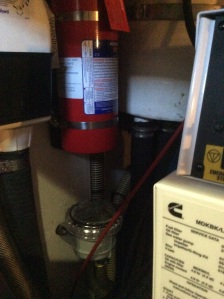
We get the impeller cover off and it looks fine, only 100 hours since it has last been changed. We check the through hulls for the engine intake and the under water exhaust (after it has gone through the water separator), both through hulls are fine and water is passing through them fine. So we have water coming in, going through the filter and the impeller looks fine. We now can’t do any more testing until the filter cover is replaced. It is almost certain that air is being sucked in through the cap even though we have taped it and put plastic in it to try and secure the seal. I now have a copy of the service manual for the engine high has the best advice I have seen on the fresh water pump…. How to disassemble the water pump….Don’t, it’s too difficult! 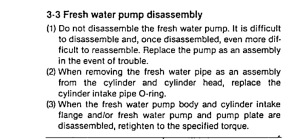 Within a week we have the new filter lid. We decide we have probably exhausted our knowledge and should wait for the expert.
When Lindsay comes on board, I am unfortunately away in a meeting in Surrey. When I get out of the meeting, I hear the results. Lindsay rechecked the fresh water cooling and although there was water in the expansion tank there was little coolant in the engine itself. He adds six litres of coolant. There are multiple belts on our engine and the one driving the water pump looks a little loose although we knew the impeller was moving although maybe not as fast as it should! The belt is tightened. Maria and Lindsay run the engine under load for 45 minutes and there is no overheating issue. However, Lindsay is concerned that some of the older pipes should be replaced. The engine now needs to cool down so that we can understand whether we have lost any more water which could indicate problems with a pipe or the cooling system internals.
The next day Lindsay returns when I can be around to discuss next steps. We check the water, the fresh water system seems to have lost a litre of water. 😦 we discuss what could have happened. We have recently had our hot water system changed and a new tank fitted, this attaches to the engine cooling system to provide hot water while the engine is running. This change may have caused the water level to be down a little if it hadn’t been refilled but would it explain six litres? We decide to refill the fresh water. The next test should be isolated from the hot water system. I switch off the valves that isolate this part and Maria and I top up the oil to the mid point. Later we run the engine under load for 30 minutes. The engine at the end of the run, there is more water in the expansion tank, clearly that has worked as expected. The next day when Maria and I check the levels we find water although it may be a very small amount down, but it was filled to the top. The expansion tank has also returned to the level it was at the start.
It sounds like the next step is to test the engine some more and also checking the link to the hot water tank, maybe there is a leak there…. 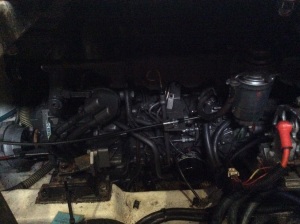 We also want to get the engine serviced and as you can see from the picture, the lighting in there is terrible so we would like to do that too. As you will have seen from previously, it has been a while since we spent thousands on the engine….so we must be due again 😦 the good news is though that once done the engine room will be immaculate and like our engine room on the Dufour. This will help us in the future and also the experience of working on the engine will help us when we go on our long journey.
watch this space.
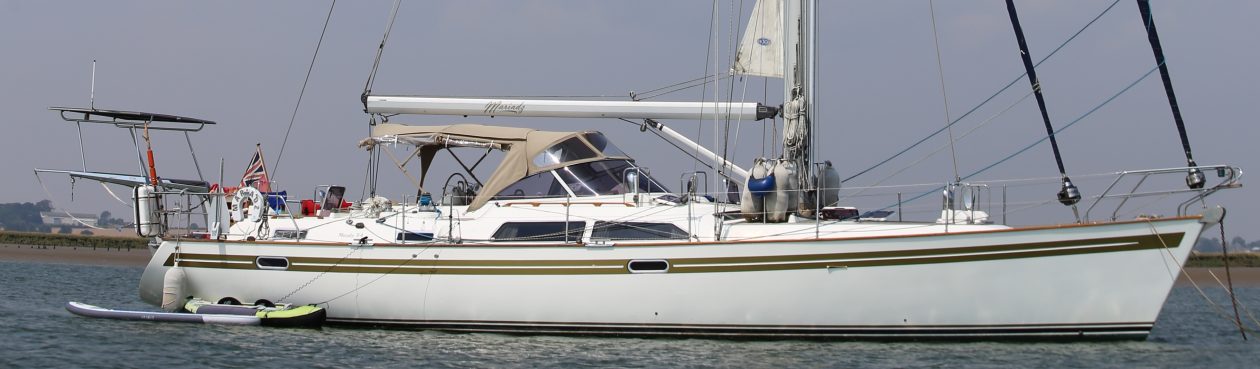
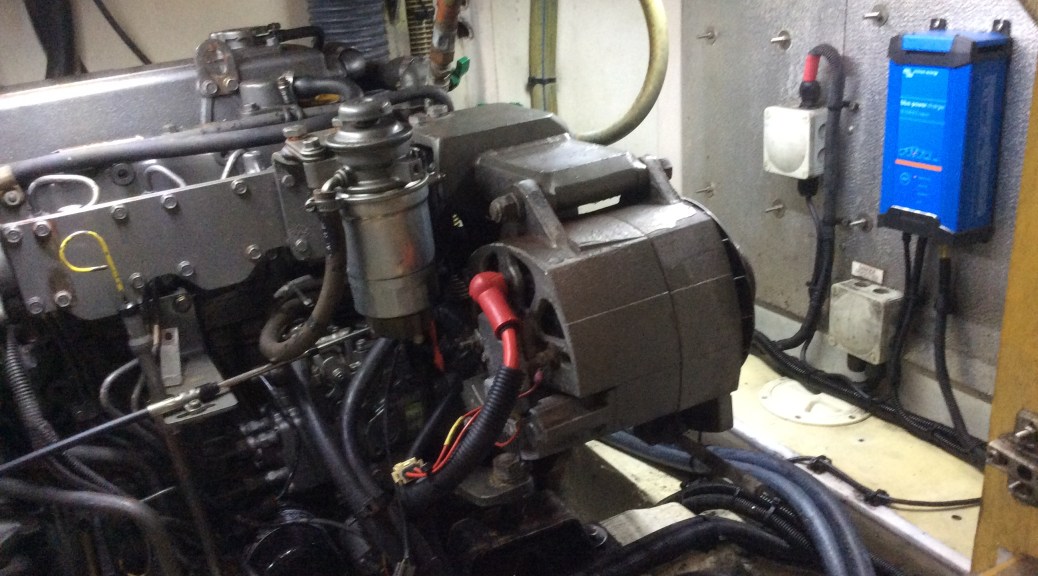
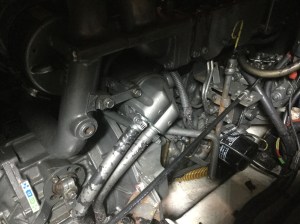 So the Seapower marine double-act have continued to give the engine room some much needed TLC. It was impossible to see anything in the engine room, no matter what time of day, without additional lighting. We agreed that if we really want to know what is going on we will need some LED lights to brighten the area and show up the dark and sinister secrets.
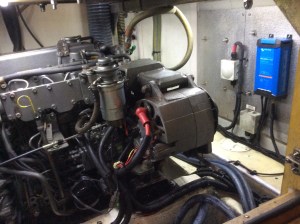 the engine has also been run for approximately 10 hours with no overheat issues which has been reassuring. With a clean engine room floor, we would also be able to see if anything was coming out of the engine and so far we seem to be in a good place. It now means that Maria is confident again


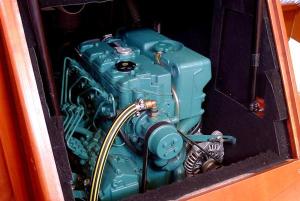 since it had 2.5 engine hours when we bought her and was spotless. It was easy to keep this clean.


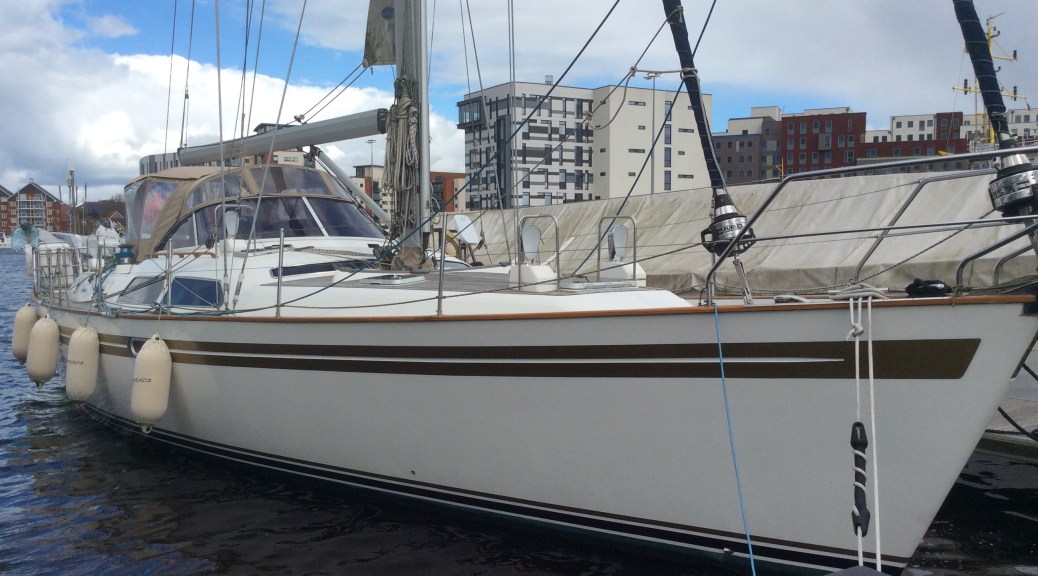
 Maria wanted to get some new ones. When I explained how much the last set cost, she decided to do a little more research and see what she could get. Having done some research Maria wanted to try polyester fender covers to see if they wore better. They were certainly a lot cheaper. 🙂

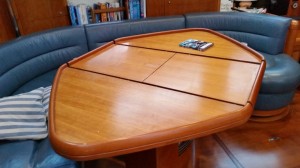
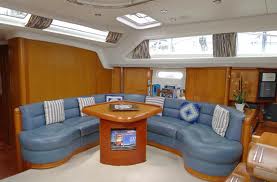 We looked at a number of options over a long period of time. Removing the poor veneer on the table showed more fire damage and the original wood was blackened from fire. We had success previously with the walls of the saloon being re-veneered and so we tried that, although the main part of the table was fine, there was a problem where the veneer got to the edges where the fiddle (grab rail on the edge of the table) was. We looked at whether we could put a fill in the corner so that the edge of the veneer would not show but everything we tried couldn’t deal with the very tight curves on the corners of the table.
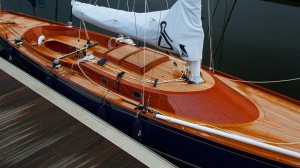 This unfortunately meant that Maria wanted something that wouldn’t look out of place on one of these. We spoke to a few people and Kevin was recommended to us. Kevin discussed options and he agreed that he could do something special with the existing workings of the table that would be a centre point of the saloon and would give Maria the table that she really wanted. Kevin spent a lot of time on the table and designed it with two compass roses when the table is extended with the fold out insert in place. When the table is smaller it has a single compass rose. Kevin quoted for the work and we were happy. We subsequently found out that he is a bit of a perfectionist, hence why Maria likes him so much 🙂 and he took the time to do a really good job even though it coincided with the birth of his child. He cant thank him enough. While the job was being done, Kevin had left us with a plywood top to our table base so that we could still use it while the work was being done. In March, the work was complete and despite having to delay the install for a week because we were away, the install was ready to happen on the 19th March. Kevin had offered to send photos through but Maria was unequivocal in her desire to see the table for the first time when it was in place.
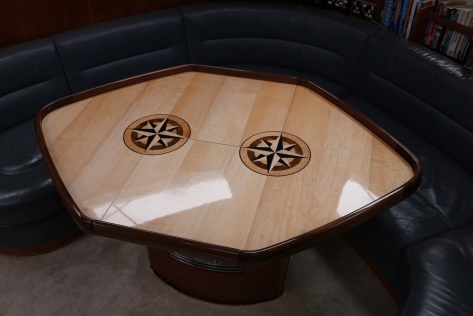 We are really, really pleased with the results.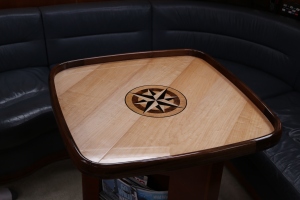
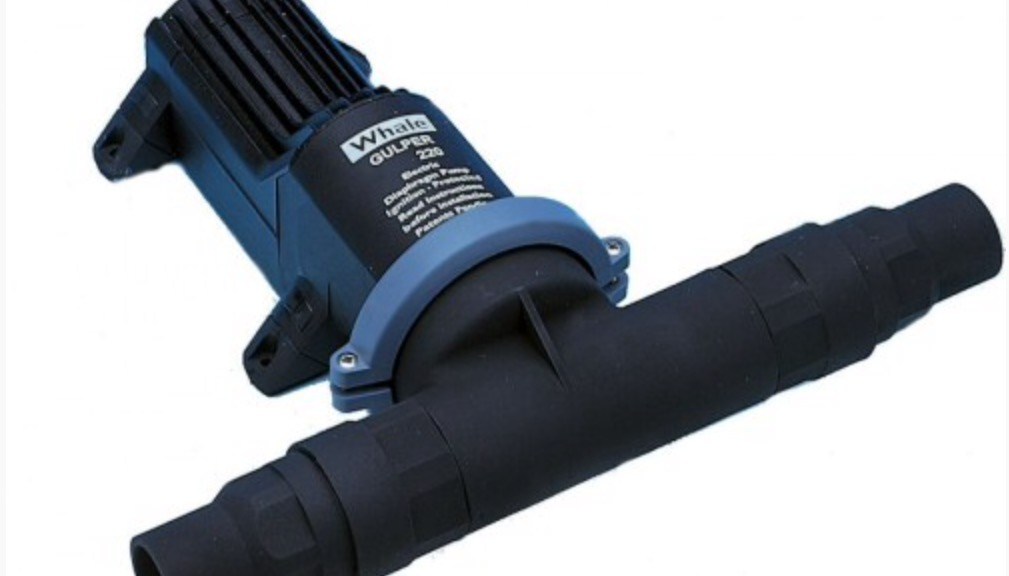
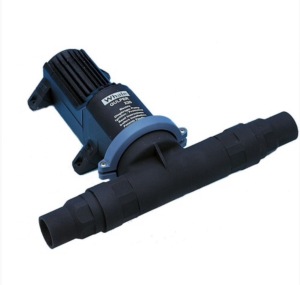 The upgrade was to use the toilet version of this pump. This is equivalent to the more powerful of the two grey water pumps but has a much wider pipe, let’s not linger on why that is required for a toilet pump…..
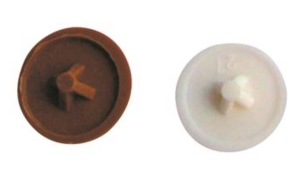 (the ones that disguise screws and make them look like the headlining or woodwork. These had jammed across the pipe together, which was little wider than these at the bend. This stopped all flow, especially as they had been packed in with hair and assorted other gunk. On cleaning this out we put the whole system back together and tested.
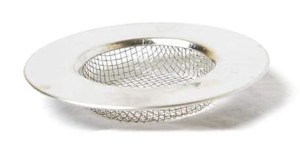 gets you one of these stainless steel little puppies that fits the plug hole perfectly, has a very fine mesh that catches rice grains etc and looks like it is standard fit. So all those problems could have been averted for less than two pounds….
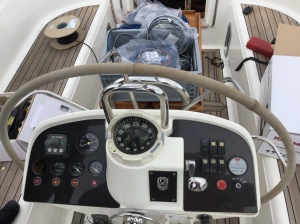 of course throws the compass off 😦 . we looked at the design of the standard steering column and were a little confused. Engine hours is important to keep an eye on but does this really need to be on the helm? We decided to move it down below. There were also some redundant switches. By carefully rearranging the steering column, with Olly from Seapower’s help, we were able to come up with a better design that also fitted in the chartplotter and the control panel for the Forward Facing Sonar. The radio bracket has been moved
 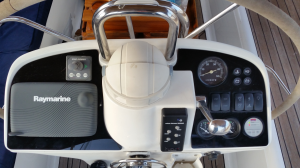 away from the compass and the new remote control for the autopilot has also been mounted on the pedestal. Another change was removing the standard key to start and replacing with two buttons. At the end of the day the keys are all standard and so add no security but can handily (?) break off in the ignition at times. We just need to make sure that the ignition is switched off from the master control down below to avoid someone taking Mariadz away. Finally we added LED lights to light up the table when needed.

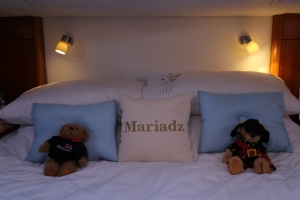 This time, we decided to bite the bullet and buy a couple for our bedroom. We would have to find a cheaper solution for the other cabins.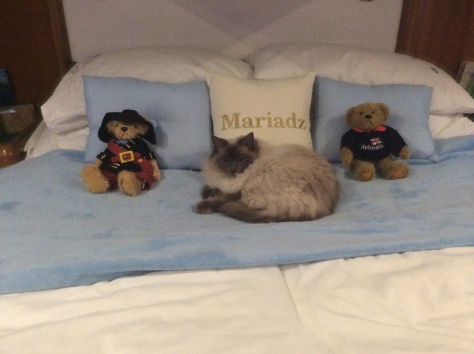
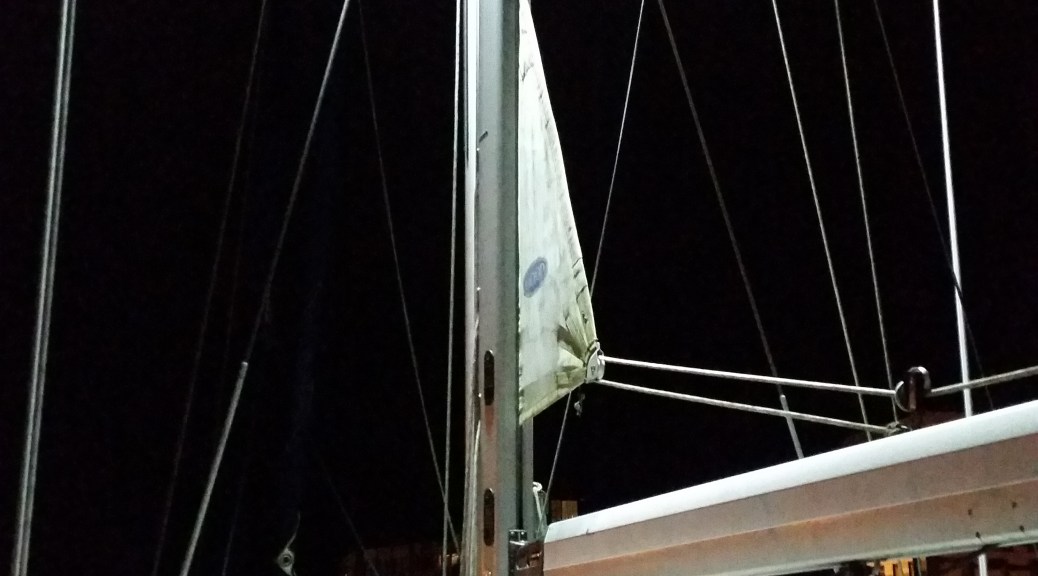
 the mast or the boom we wanted to add some lighting.
 ). These are unbelievably bright and I guess may even work as a security deterrent too 🙂
