Those that are familiar with our journey will know that music is important to us. One of the first things we did when we got both of our boats was install new stereo systems with Bluetooth, to access music on phones, and a remote control to allow us to control the stereo from anywhere on the boat. Having installed the same head unit, a Sony, on both boats we have been happy with what we have – Music.
So it was disappointing to find that after four years intermittent use, the stereo was resetting itself every five minutes or so.
That has to be sorted. So off to Halfords and look at the stereos…. we’re looking for one with Bluetooth and a remote control, preferably a Sony, a good name and the same as we had. “Nah, none of those sony’s come with a remote control”. Ah, back to the drawing board.
Maria and I go back to the internet, what stereos come with a remote control and the answer is……none of the quality makes but a number of random makes you have never heard of have them. There has to be a reason. And there is. You don’t need a remote anymore because remotes are so last year, this year is the year of the app. Sony, and other manufacturers, do an app that controls the stereo. Now in a car setting that sounds even worse, i can imagine the random passenger in the back that now has complete control of my stereo, including the volume, without my knowledge! Can you imagine the horror of Amanda Jane Furber having access to this technology!!! Dancing Queen from ABBA at top volume, and nothing you can do! 🙂 obviously one thing you can do, “I’m sorry officer, I had to drive off the cliff to stop the music…..thank you for saving me.” And you know, the stereo would have moved on to Waterloo!
Anyway, having established that a remote is no longer required, we return to Halfords to choose a suitable stereo. Stereo selected, a Sony MEX-N6002BD Stereo , we are off home and my job is to fit it.
That is a five minute job…….
Of course the first task is to remove the old stereo which is obviously made very easy by the two metal keys that are apparentlyinserted in either side to pull the old one out. Simple. Remove the plastic surround by pulling hard, with. Little inward pressure and the access slots are revealed. Insert one of the keys and then the other, pull them out together and hey presto.
You have two keys in your hands and a stereo looking at you saying “what?”.
Ok, carefully ease the left key in, hear a click. Same with the right. Ah, now I know what I did wrong. Most importantly pull very gently and together. Easy…. Easy….. you have two keys in your hands and a stereo sit sat in place looking at you saying “what?”. Repeat for at least twenty minutes.
My new stereo is not even out of the box yet, I’m not having that! In these situations the internet is your friend. So let’s spend half an hour watching random videos of Eastern Europeans with broken English, explaining how you can also do this using two large chopping knives before you lose patience.
The problem is that the chassis that holds the stereo, has some side panels that spring in and hold the stereo in place by catching it. This stops it coming out in normal use. So let’s get in there with a flat had screwdriver and lever the smug {expletive deleted} out! That works perfectly 🙂 time for a victory dance!
Then we can pull out the aerial plug and the plug for the power and speakers so we can get the old one out. Get the new one, plug in and job’s a goodun! The aerial connection is fine but even though the functions of power and speakers are exactly the same from the same manufacturer, it’s a different plug! Thank you, sony.
Now the plug has two sets of cables with big black plugs on the end, one for the power and one for the speaker system. I imagine, in a car, these plug into the stereo harness – if you are lucky. On a boat, no chance. However, the advantage of buying the same manufacturer is surely they haven’t changed the colours of the speaker cables over time……. Writing this has made me realise that I haven’t checked that the speakers are connected to the right cables, but surely not..please….. that may be a later blog!
I recall that when we fitted this stereo, we had the same problem and removed the blocks and replaced them with spade connectors for each wire ensuring that there was a good connection with each cable. So I need to do the same for the new setup. Cue 24 hour delay as I go to my toolbox and find all I appear to have left are the female end of these connectors!
The next day, I have acquired more than enough spade connectors, I have been here before. I have my useless crimping tool from the toolbox and I get to work. Firstly, the wire stripper on my tool doesn’t work so I will be doing this the old fashioned away. Fourteen wires later, I have a harness with spade connectors and I’m ready to go.
I decide to swap the harnesses one wire at a time by disconnecting one wire from the old and plugging the same colour in from the new. This looks like spaghetti junction in no time and I am sure I inadvertently do it the wrong way round a couple of times as I get confused. But it is all done soon enough and the old harness drops to the chart table as I disconnect the last wire. What could be simpler, plug it all in, leave the stereo half in the hole just in case and off we go! So plug it all in, power on – excellent, tune the radio and I have stations so the aerial is working ok – excellent :). I also have sound, excellent 🙂 🙂 …..from one speaker, not so excellent! 😦 pull everything out and disconnect. One of the speaker wires has come out of its spade connector. Surely that wouldn’t cause such a big problem but repaired I try again – no difference. Take another look, push in the spade connectors a bit more, put it together again and……nothing at all. Not even power. The power lead has come out of the connector but pushing it back in solves that problem, but still sound is an issue.
At this stage, your mind plays tricks on you. Clearly there could be nothing wrong with my work so maybe as I have pulled the wires to connect them, I have pulled something out further behind the stereo. Better check the old one stick works. Go through the one wire at a time swap to the old harness and plug in the old stereo. Of course the sound is crystal clear on all speakers! Guilty as charged 😦 So let’s take a look at my harness. I decide that I haven’t stripped back the wires enough and so redo them all with new spade connectors. I am particularly careful to make sure that none of these puppies are getting disconnected! The painstaking swap of the harnesses is working fine and we have a successful retest 🙂
Now we all know what happens next. You put the stereo back in the hole properly, fit the fascia surround, switch on the stereo and nothing!
But not today.
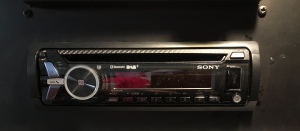 This stereo has dual Bluetooth connections which allows you to have one as a source for music and another as a remote control using the songpal, or Sony music centre, app. Installing this and you have full control of the stereo from anywhere on the boat, and off it. Absolutely perfect for a marine setting. Now to get somewhere where we can play our music loud!
A final thought, there are people out there who wonder why I don’t do everything myself! When something this simple takes this long, maybe there is justification…. nah, I enjoyed it and every day is a school day, I have learned some useful things through the experience.

 from Kent Blaxill had different ideas and produced a cleaner in a white aerosol. A spray and a quick wipe and the mirrors were perfect. No elbow grease and no smudges or streaks. It was amazing and we have used their glass and mirror cleaner ever since. We use this on the windscreen and all hatches and we do think it comes up great. Well at least until the next spots of dirty rain!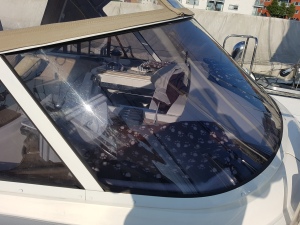
 Last year, I had addressed this problem with a nail brush in the direction of the grooves. This was back breaking stuff but came up well. There had to be a better way though. Going onto the forums and speaking to our neighbours came up with a mild bleach that would help and so we used the same as we had on the cockpit tent, Mould and Mildew Remover
 We don’t want discoloured teak! This process is a lot easier to do but time will tell whether
 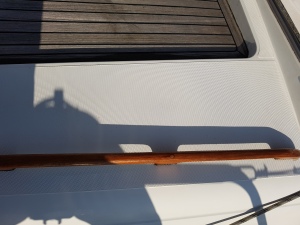 this the product has cleaned it or just changed the colour of the marks from black to white! Still the anti slip has come up gleaming and looks like new which I guess is the point of doing it!

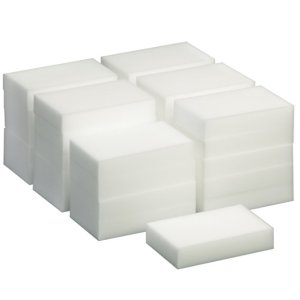 We have also noticed from time to time blue marks on our top sides. These may have been from the hose, the electricity cable or a blue sheet for our sails. Either way, these marks were incredibly difficult to get off. Much scrubbing ensued with no real progress. That was until we found Magic Sponges

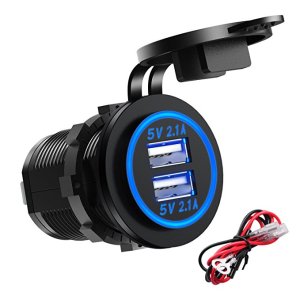 After some investigation I was able to find a water proof charger that ran off 12v or 24v. This fitted in perfectly with the 24v power supply we had available in our steering console.
 and with two three metre cables we are able to charge our devices even with the cover on. I rechecked the anchor, swim platform and ignition! I never trust anything to stay working when I “haven’t done anything that should affect that”. I’m pleased that everything is still working.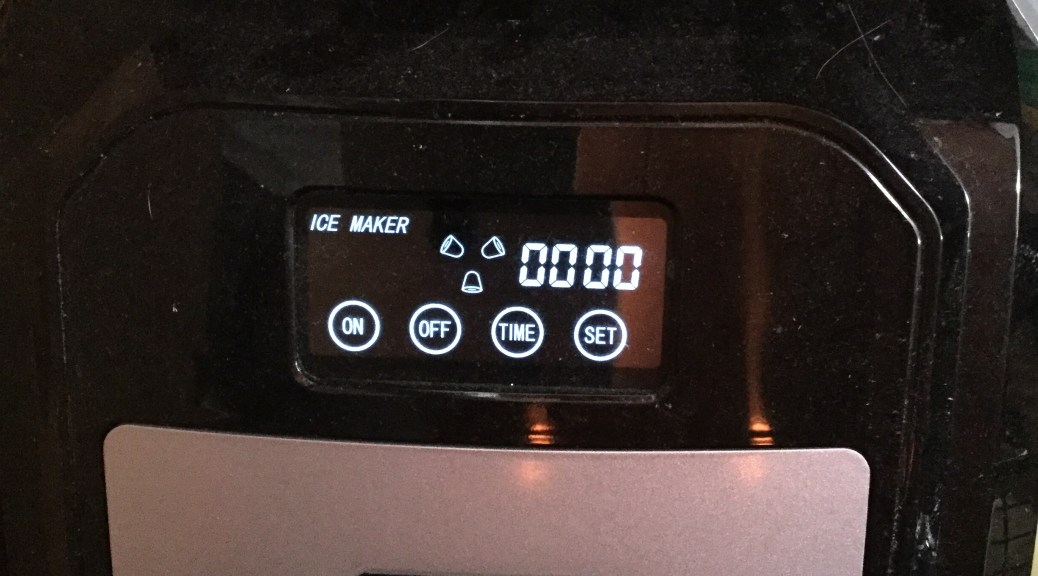
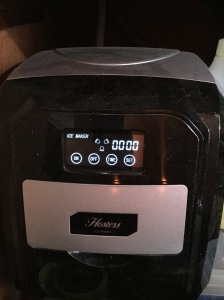 The one we selected was the
  which makes ice within fifteen minutes and can produce half a kilo of ice an hour. A little faster than Maria normally uses it for her drinks:)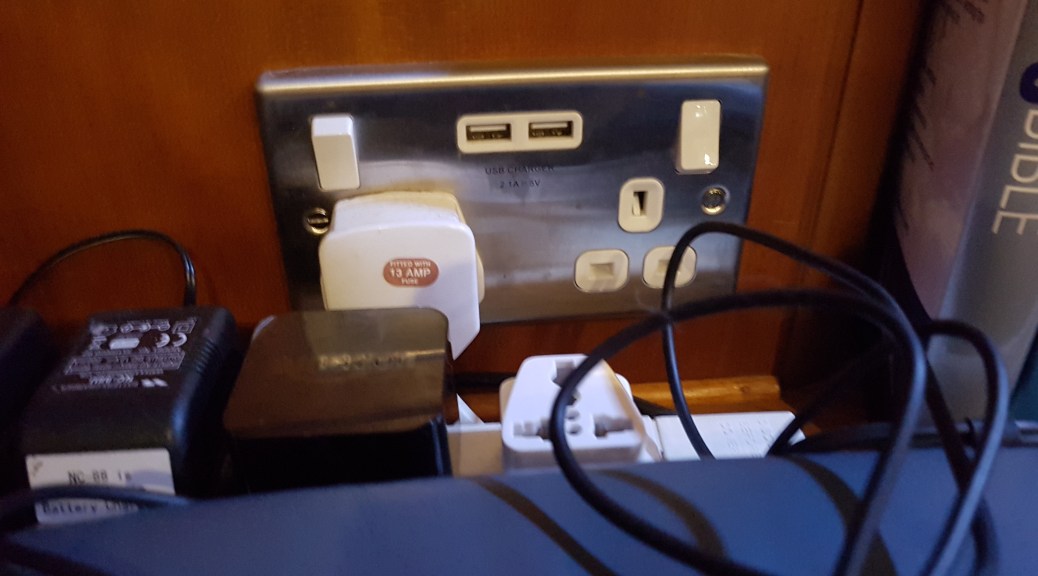
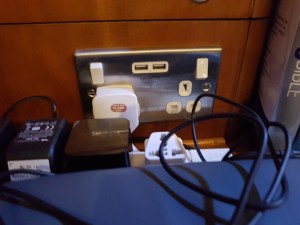 The double socket is a standard model from screwfix but while I wait to source a suitable replacement, it seemed sensible to swap the broken socket for a functional one that we don’t use. This was done on a Sunday and flush with the success of having fixed the windlass remote I switched off the sockets on the board and set about unscrewing the ten screws to swap them over. Half way through this Maria has dished dinner and rather than letting it go cold, I stopped what I was doing. We thought we would watch something on the tv that we had recorded on sky… better switch the sockets on to do that!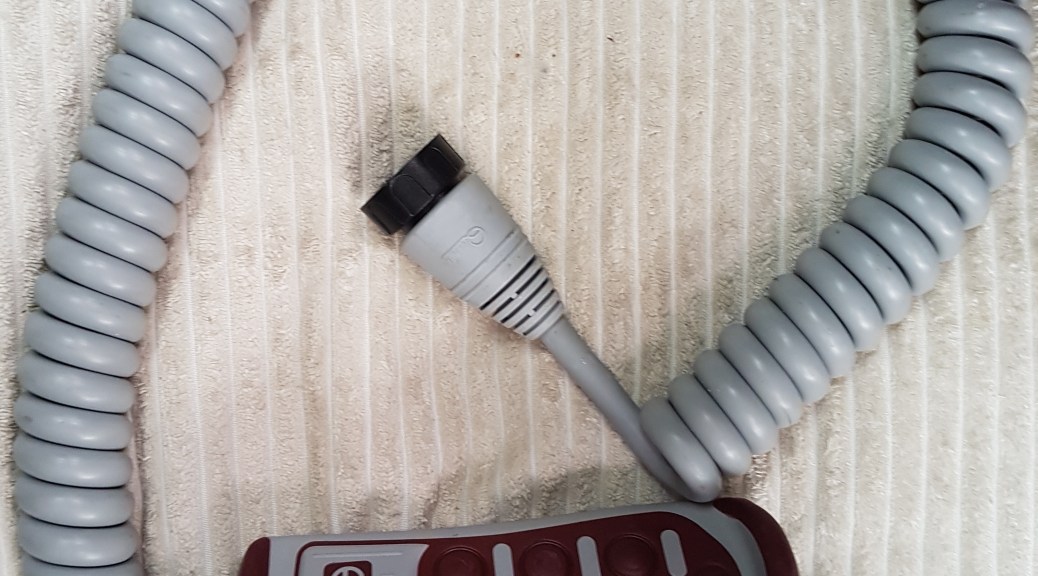
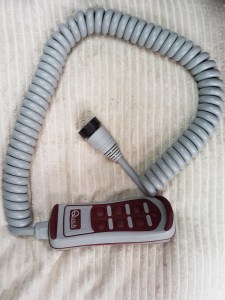 We decided on the
 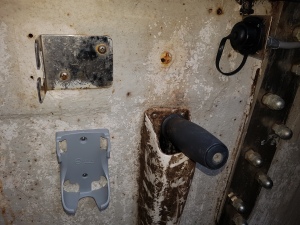 the remote is mounted on a stainless steel bracket (top right of the picture) and of course the design of this has changed which meant I needed to redrill holes into the plate for the new female connector. The wire then goes around the aft part of the anchor locker to the control box. Having crimped each of the wires and having learnt my lesson from the recent stereo replacement, we were soon ready to go.
 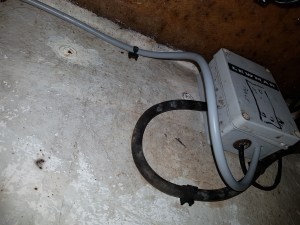 I am connected up and so go back into the boat to switch on the power. Silence so at least I haven’t done anything stupid! I go to the steering console, let’s make sure that I haven’t broken anything, it works. That’s a good start, at the very least it isn’t worse than when I began. I plug in the remote and go for the buttons. The windlass springs into life and works as expected. I have wired the power for the light to the incoming live but wasn’t sure which negative to use so I test it and that works. I am now feeling very smug as I replace the cover for the box, cable tie the wire for the remote and finally fit the cradle for the remote to the wall of the anchor locker.
 , we are off home and my job is to fit it.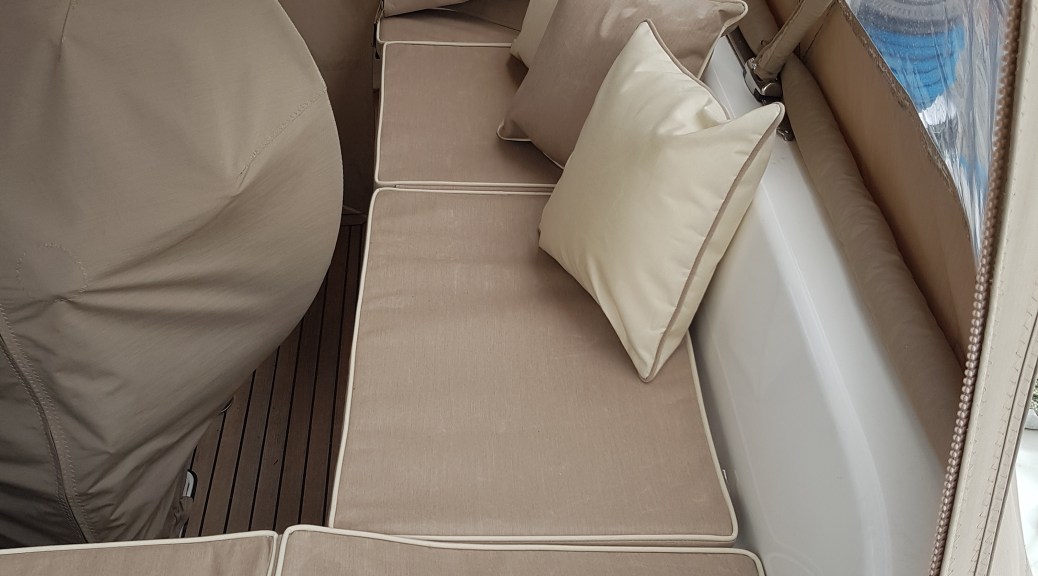
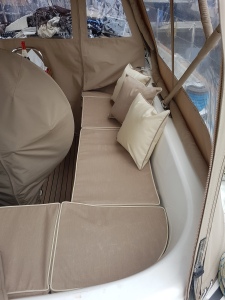 The design exercise was quite complex since we knew how the area was likely to be used. Just looking at the access areas for the cockpit made that clear. We have two side entrances and also access at the aft end of the cockpit. During the winter, most people come in via the aft entrance. We were keen to make sure that people didn’t stand on the seating, irrespective of the entrance and so a number of folding sections were incorporated so that these could be lifted to provide a step and to stop the cushions being spoilt. These folds were two at the aft area of the cockpit and one on each side. James incorporated a nice way of fixing these with Velcro underneath the seat and a flap which meant that the join was very strong and invisible when the seat was setup – much better than two cushions butted up to each other with Velcro on the edges. This works for all four entrances into the cockpit.
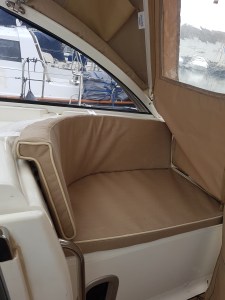 When I say “our”, I do mean Maria, Bonnie, Clyde and myself, since the cats like to be on deck when we sail. This area has full backs to make it comfortable but these were a real headache to get right with the curve of the cockpit and the shape of the back that cushions need to rest against. All other areas have a selection of loose cushions, in a couple of contrasting colours, that can be used for the backs. This gives flexibility and also means that when Maria sits behind the wheel steering with her feet, she is surrounded by comfy cushions.
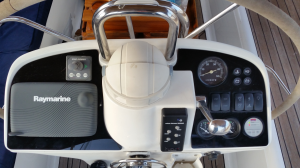 We had spoken to Lindsay at Seapower about this some time ago and there was concern that we may need to replace the entire throttle control with a completely new and very different unit. The first job though was to check that we didn’t have issues with the throttle cable and particularly the gear cable that allows you to select between forward, neutral and astern. This was one of the jobs arranged for while we were away skiing in Austria. On our return from holiday, Maria was planning to turn the boat around so she was bows-to the pontoon. This is our preferred wat round and gives her a nice view over the stern to Ipswich Centre. It provided us an opportunity to test the new setup. After the work was done, there was a complete lack of swearing when Maria was turning the boat around so I think we have a result!
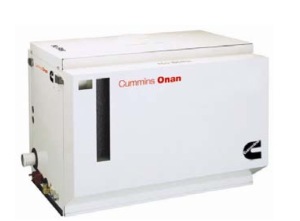 To avoid this problem, we took the decision to buy a generator with a lower power output (7kW) so that we were always using a high proportion of its capacity. In the few instances where we need more than this for a very short period, the inverter charger could pull from the batteries but this was likely to be for seconds and so wouldn’t impact the batteries too much.
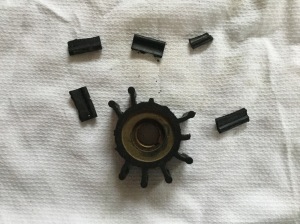 This has been in place exactly two years and had around 70 hours of use so a little worrying. Of course a broken impeller is not good news and we are grateful that the generator hadn’t overheated because of the lack of water flowing through the system. We are now investigating what has happened but I understand that we may need to be more careful at checking the generator when it hasn’t been used for a little while. I suspect more frequent changes of impeller will be required too.
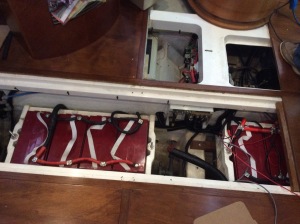 So our overnight load is not great, even with the fridges and everything else running we shouldn’t take more than 10% of the total capacity or 20% of the available capacity running throughout the night. I get up in the morning to find our battery monitoring reporting 0% capacity! Have I inadvertently left something on? I check everything and there are no problems. Running the generator during the day gets the batteries back up but it seems very strange.
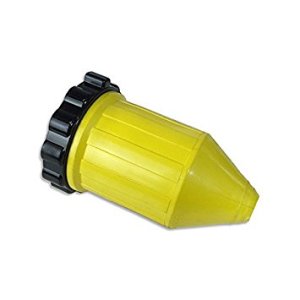 Ollie from Seapower usually does our electrical work and unfortunately with me and Maria working hard at the moment, we can’t afford the delays while we sort this out ourselves. We just need it done and can’t wait for me to get back late from work, reorder, wait and then fit. Ollie comes on board and wires us a temporary solution while the plug is being delivered and also checks the batteries.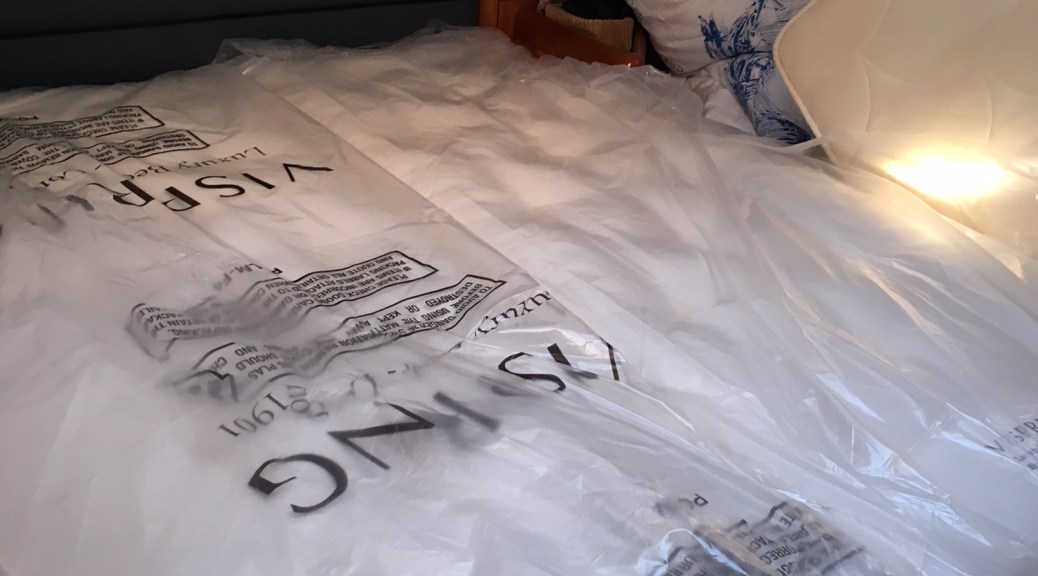
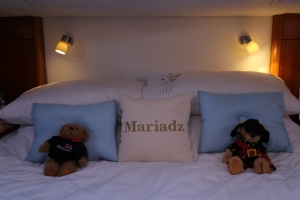 topper for a king sized bed which went over the top of the mattress. This worked well and stopped us being eaten by the gap in the bed. It also meant that we slept on something new rather than on someone else’s bed. I know you do it all the time in hotels but somehow it feels wrong when it is your own bed.
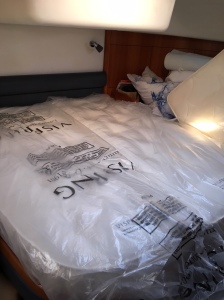 This wasn’t the cheapest option but we were keen to have a long term solution. Julie-Ann at Passmore was really helpful since we were keen to have a joined up mattress with two different halves. The split is needed to allow access to the storage and machinery (aircon) under the bed. Despite the knowledge that they would be a perfect size we were still keen to have a zip joining the two mattresses together and since nobody wants to sleep on a zip, a cloth cover over the zip to make sure the
  bed was comfortable. The visprung beds are quite firm and there was an option to go extra firm which Maria toyed with, in the end we are grateful that we went with “only” the firm mattress.
