
The engine saga continues but as Lindsey at Seapower told us, it is lots of small steps that get us closer to the goal and improves the engine.
We started this process a little while ago by adding sensible lighting into the engine room so that you could see what you are doing. The LED strip lights are brilliant and really let you see what is going on in all corners of the engine room. This revealed the full horror that was the engine room floor with a mix of old oil stains etc so this was cleaned up and made spotless so that we will see if there are any problems with the engine. In the interim we had run the engine and found some oil back in the bilge so clearly a proble that needed to be investigated some more.
The next stage of the engine improvement programme was combined with an education for the crew. In the future, when we are travelling we will have to be as self sufficient as possible and that means being able to maintain the engine. We had not personally serviced the engine and so Lindsay agreed to give us a course on how to maintain the Yanmar engine. This took nearly all day since Adam did most of the work himself under the watchful eye of the engineers and this was the first stage, more advanced engine maintenance will be covered in a subsequent day.
The stars of the show on this particular day were:
- Lindsay, “The Master”, main role seemed to be telling everyone else what to do while chatting up the other skipper, a certain Mrs D 😉
- Callum, “The talented apprentice”, actually did the guiding and was hands on
- Adam, “the untalented apprentice”, got all the scrapped knuckles!
- Maria, “the supervisor”, able to chip in “useful” comments from the safety of the navigation seat while chatting up Lindsay.
Lindsay started with a quick explanation of the various elements of the engine and a high level view of what we were going to do. After this we set to work by draining the oil from the engine and the oil from the gearbox. This was replaced with fresh lubricants. So far so good, access and visibility are good.
it was then time to start to attack the filters. The oil filter was quite simple and not too messy with a screw on and a screw off and then we were onto the fuel system. Firstly, we had to shut down the fuel lines with “lobster” clips, I have no idea what they are called but they looked like red lobster claws to me :). The first stage filter mounted ahead of the engine looked simple enough and had a drain at the bottom of it. We opened the drain and expected fuel or gunk to emerge, nothing. We loosened off the top bolts of the fuel filter but still nothing. At this stage, we realised that the work was going to be a little more onerous than we first thought. We would have to take apart the fuel filter and understand what was going on, and it was likely to get messy. Having loosened off the top plate bolts we set to doing the same to the bolts lower down that hold the lower part of the filter to the case. We also removed the fuel filter that needed to be replaced. On inspection, this was filled with black gunk which was clearly part of the problem. The lower half of the mechanism was also filled with black gunk and hence why the drain wasn’t working. All of this needed cleaning up and then reassembling with some of the bolts being “fun” to access unless you had the hands of a five year old. We eventually got this resolved and with a new filter we were ready to move onto the second fuel filter. This was a simpler job, similar to the oil filter (I wonder whether this was the only one that had been changed on previous services). Bleeding the fuel system was a lot easier than I had expected, I had heard stories of having to bleed each injector and had thought we may have to do that at sea if there was a fuel problem. Actually on the Yanmar it is a lot easier with a single bleed screw at the top of the fuel pump above the fuel filter. So gearbox is done, fuel filters are done so onto the impeller.
We had recently had an overheat problem, which we think may have been related to us not double checking the coolant levels after the hot water system had been changed. We made the mistake of checking the expansion tank which wasn’t being touched because the coolant level was so low. As part of our investigation of this we had spent some time looking into the cooling system to see what the problem was. Again, in retrospect we should not have trusted the expansion tank to tell us the water level but that was a lesson learned. As part of the investigation we had taken the cover off the impeller to check that it was working properly. So this was familiar ground even if the access under the bottom of the engine isn’t perfect and it doesn’t give a good angle to see what you are doing. The plate coming off was easy and it was time to use the impeller remover, something to be added to our setup. I couldn’t get it to bit on the screw and subsequently discovered that the central extractor bolt was too far in and was stopping me getting it attached to the impeller, another schoolboy error. We got the impeller out which was consistent with being a couple of years old and in good condition. In the past I have been clear where in the past things haven’t been done to the standards I would have expected. One thing I have to say was that the was a fine selection of spares for impellers, oil filters and fuel filters (just a shame some of these had t been used….sorry couldn’t resist 🙂 ).
We were able to get he new impeller in placealthoug hat first it didn’t seem to want to go in without a bit of “jiggling”. Lindsay had noticed a flaw in the impeller plate that was looking damaged, and for lack of a replacement, had filed down the reverse of the plate so that this could be used. Clearly not a long term solution but certainly better than the part worn plate that was there.
The final step of the engine service was the fan belt change. Our Yanmar comes with three fan belts which includes an aftermarket setup that appears to be bolted onto the front of the engine. The two alternators had different ways of attaching to the engine and adjustment so this provided good experience. We had also noticed that the fan belt and indeed alternator that had been added later were very loose and needed tightening up. This could have been part of the reason that the engine seemed quite “rattly” although we had put that down to being an old diesel.
Callum and Adam set to work on these and we able to get everything changed. We also tightened up the big aftermarket alternator to hopefully reduce the fan belt movement and alternator movement. At this stage we saw what we think is the cause of the oil leak. One of the bolts securing the big alternator seems to have oil coming from it. This will take a little more investigation but hopefully means that the oil leak can be resolved quickly. The proof of all this work of course is restarting the engine and this also went smoothly and I’m sure it is quieter and purrs a little more than it used to….
So next steps are to resolve the minor oil leak so our engine room floor can stay spotless and replace the older pipe work on the engine which with age combined with the slight overheat look a little worse for wear. We will get them done and then hopefully the engine will feel it is being looked after properly.

 wifi receiver, an
  and a
and a  which allows the signal to be shared wirelessly.
 This sounds a good idea but with a 15GB monthly limit, it is very easy to blow that watching TV over a weekend! The MIFI needed to genuinely achieve 4G where available, apparently some marked as such do not do it. I thought the 4G would be a form of future proofing :). We went for the
  which has worked brilliantly. With the “3” SIM card, you can travel aboard for up to thirty days and not pay any roaming data charges which also works very well for us, even though we also use it for the motorhome. You just need to keep an eye in usage, which is shown on the screen. However, we do travel abroad a lot and these things are changing all of the time. We have now moved over to EE who offer up to 15GB abroad a month as part of their 30GB plan. Post blog update…….the European usage is unrestricted within your plan since June 2017, so if you go for the 60gb plan you have that much data in Europe, at least until Brexit!
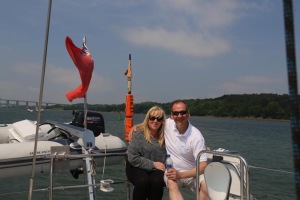 are due to arrive late morning which is perfect for the tides since we will get through Ipswich lock when they have the level and drift down the river with the tide and light northerly winds (again, we have never seen such a long period with solid Northerlies). 11am and no sign of our guests. The boat is ready and the cats are getting impatient, they know we must be going somewhere so either go or let me off the boat! Half an hour later we get a call and a sorry story of locking themselves out with their phones inside and having to wait for their daughter to let them back in – it can only happen to Kay.
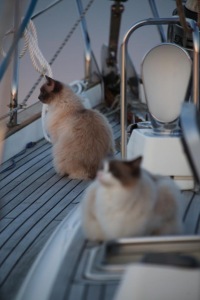 We get everyone on board, including the cats, and set off. A few refreshers for John who is keen to learn and we safely and easily get through the lock and start to sail down the river at a very gentle pace. The weather is gorgeous, in the twenties and I need sun cream to avoid becoming a lobster. We make the turn into the Stour but not before a little hiccup when the wind does an about turn and literally goes from behind us to on the nose. More drifting gently down river before Maria declares that she wants to fish this evening and so can we get there. We find our favoured anchor spot near the cardinal under the Royal Hospital School.
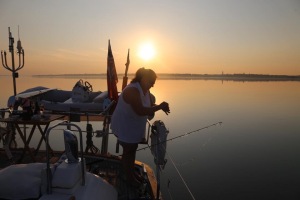 assembled the new roads and got to catching fish, crabs or seaweed as appropriate. However, after a few hours, John hooked a really nice Sea Bass which was over the size you are allowed to keep, although subsequently we have been told you are not allowed to at this time of year. Anyway a discussion was had. Kay was firmly in the get that hook out of the fish, you are hurting it camp. Anyway, in the end and despite me reminding her how much Sea Bass costs in Sainsburys, Kay told John he had to return the fish to the river :(. Adam wasn’t happy. A few minutes later, John caught another Sea Bass which was much smaller. Despite having pretty much swallowed the hook, we were able finally to remove the hook and having checked the fish was OK in a bucket of sea water, we released it and saw it swim away. You will notice I have yet to mention Maria catching anything….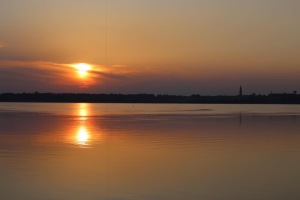
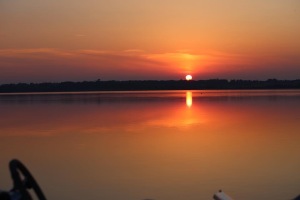 Then just after sunset Maria’s line was being pulled with a heavy weight. We all looked on expectantly as Maria retrieved her line to find loads of sea weed, poor Maria didn’t catch anything else all night. We had been drinking Prosecco since we had anchored and after several bottles, Kay started to doze up in the cockpit while the rest of us chatted. A lovely evening just chatting to friends with music quietly in the background and no troubles.
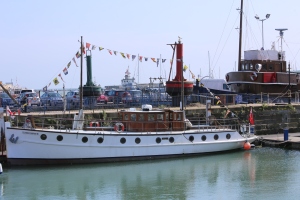 Our standard each year is to go down to Ramsgate or across the channel for Easter. Easter was early this year and the weather awful so that put paid to that idea. We have also just had the navigation upgraded and wanted to check this out including the AIS so we also thought that a flip down the coast and across the Thames would be better than trying to negotiate the M25 of large container ships to cross the channel with unfamiliar systems.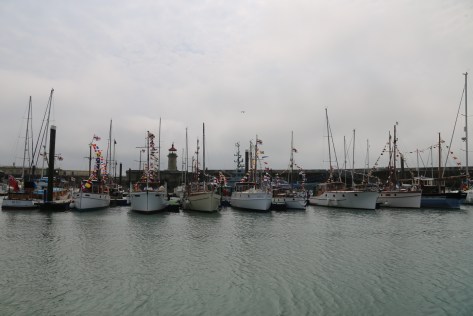
 To get there you work up an appetite by climbing several flights of steps. We have another lovely meal and return to the boat since we are both quite tired.
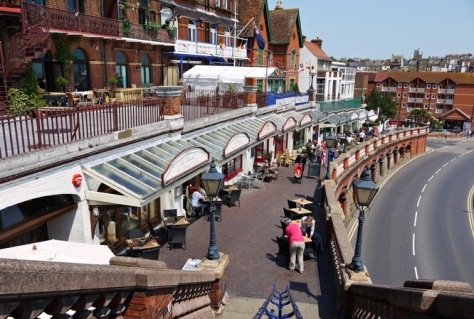 adjacent to the Thai that everyone raves about for dinner. During our gorgeous lunch we recheck the weather. The Northerlies are here to stay and although quite strong at the moment are strengthening to 35-40 knots on Monday. Having rechecked the forecast elsewhere we decide that we will go home a day earlier when it is not quite as bad. We eat too much at lunchtime and decide we have to cancel the French dinner (we have still not eaten there yet). We will also leave early on Sunday recognising that it will take a long time to get home and mostly in the face of a strong wind under engine.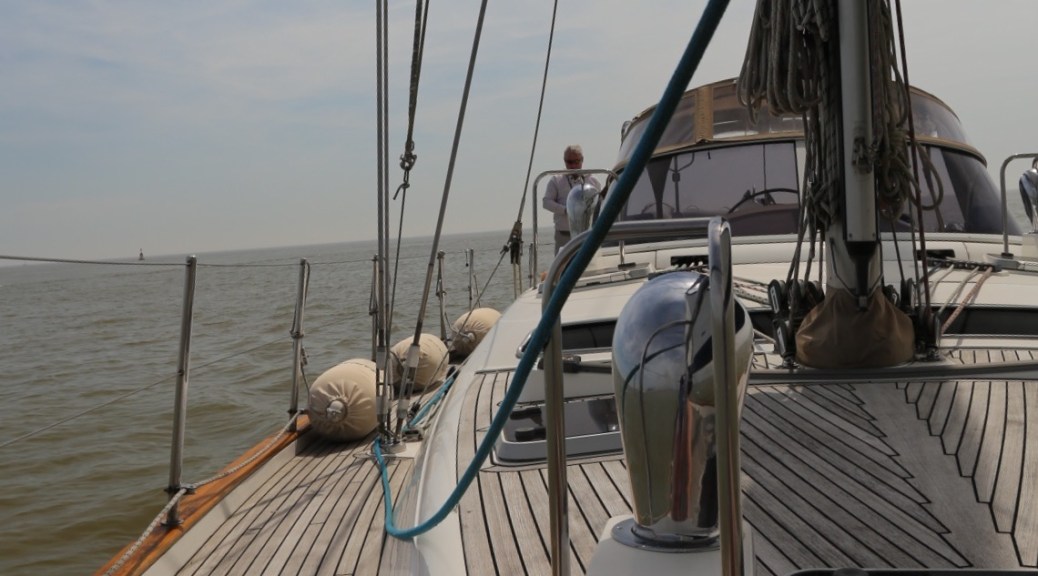


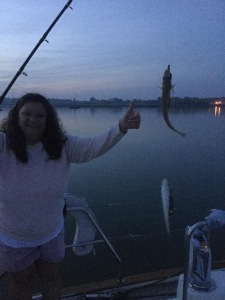 She reels in to find two whiting trying to wriggle off the hook. Please note that I think Maria has very cleverly angled the rod towards the camera to give the perspective that the two fish she caught were huge, I don’t recall them being this big! I then. He led my rod and found another fish, this one had the hook in its lip and it as easy to free it and return it to the after to live another day. As night fell we discussed anchor lights, we were on a mooring buoy in a known area along a straight part of the river. The River Orwell has some documented examples of commercial traffic dragging yachts off their moorings accidentally on some of the bends in the river and some people suggest that an anchor light is appropriate. Then, one of the ocean scout vessels that come from Ipswich circled us closer and closer, we decided to help them know where we were by putting on the spreader lights! That left them in no doubt… These vessels have a bit of a reputation unfortunately and although we have never seen a problem, we decided to stay safe. They picked up a mooring buoy a few down from us and left their anchor light on! We decided that we definitely didn’t need to do so since anyone would see them and know we were there. The next morning was glorious and still. We got up early and enjoyed a hangover-cure breakfast before setting off back up river to collect Olly from Seapower to get the last few things working. We collected him off the fuel pontoon st Wolverstone and spent a happy hour driving around in circles like a family in sainsburys car park on a Saturday morning looking for a space. This helped us to configure the autopilot, check the forward facing sonar and also for further explanation of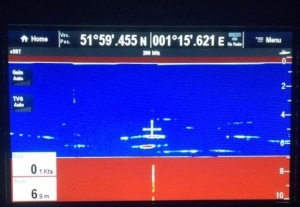
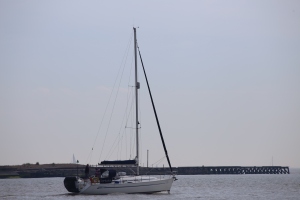 Felixstowe and out to the North Sea seeing some friends on our way on Tortola and on their way to the Deben. We came out into the North Sea and turned to the North to get some sail up in 8-10 knots of Easterly wind. Getting the sail up was a little problematic and we needed to lubricate, using silicon spray, the track for the main and the furlex drums for the stay sail and the Yankee. Eventually we have full sail up although Mariadz needs a little more wind than this to really get going. We decide after an hour to return to the rivers because we will anchor overnight at the anchorage in the River Stour opposite Harwich Parkeston Key. Maria’s step-mum lives in Harwich and so we decided we would drop the rib and surprise her.


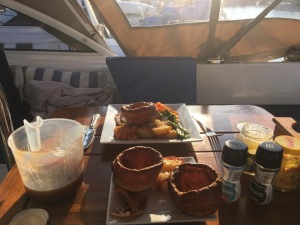 cockpit for two exhausted sailors.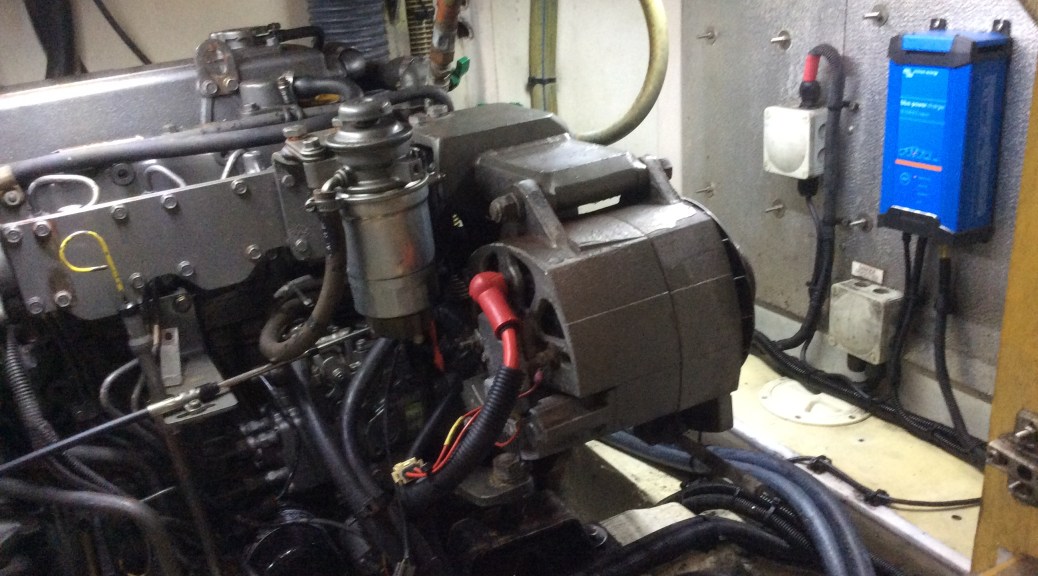
 So the Seapower marine double-act have continued to give the engine room some much needed TLC. It was impossible to see anything in the engine room, no matter what time of day, without additional lighting. We agreed that if we really want to know what is going on we will need some LED lights to brighten the area and show up the dark and sinister secrets.
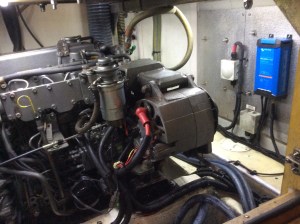 the engine has also been run for approximately 10 hours with no overheat issues which has been reassuring. With a clean engine room floor, we would also be able to see if anything was coming out of the engine and so far we seem to be in a good place. It now means that Maria is confident again


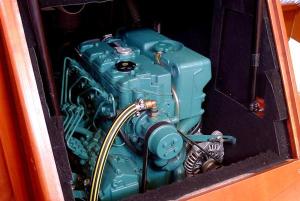 since it had 2.5 engine hours when we bought her and was spotless. It was easy to keep this clean.


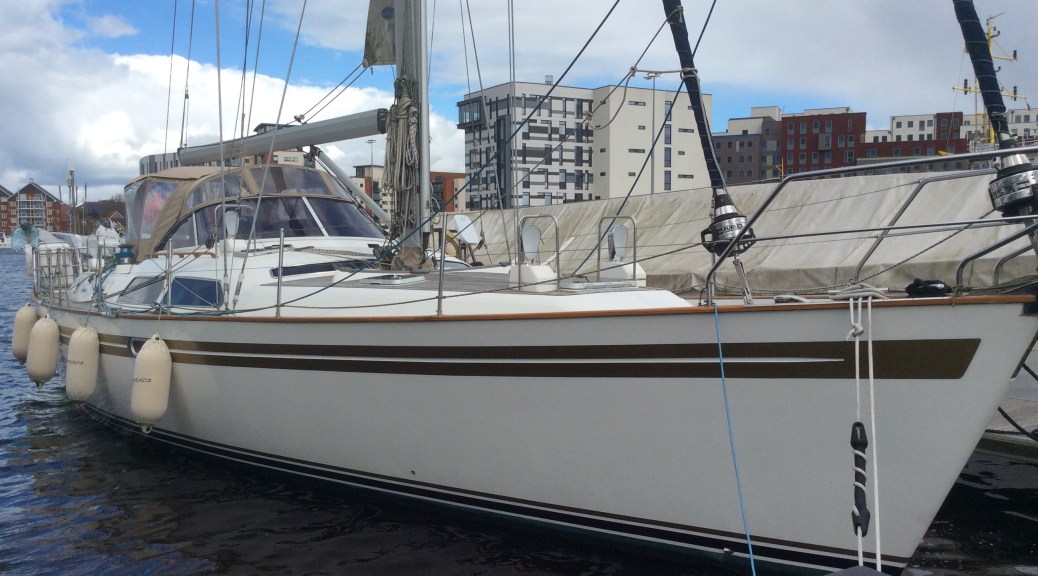
 Maria wanted to get some new ones. When I explained how much the last set cost, she decided to do a little more research and see what she could get. Having done some research Maria wanted to try polyester fender covers to see if they wore better. They were certainly a lot cheaper. 🙂
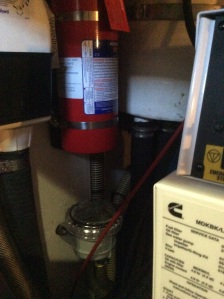
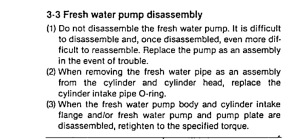 Within a week we have the new filter lid. We decide we have probably exhausted our knowledge and should wait for the expert.
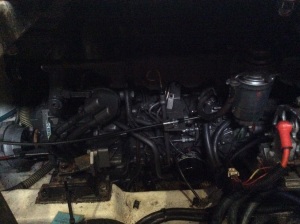 We also want to get the engine serviced and as you can see from the picture, the lighting in there is terrible so we would like to do that too. As you will have seen from previously, it has been a while since we spent thousands on the engine….so we must be due again 😦 the good news is though that once done the engine room will be immaculate and like our engine room on the Dufour. This will help us in the future and also the experience of working on the engine will help us when we go on our long journey.
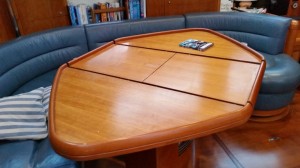
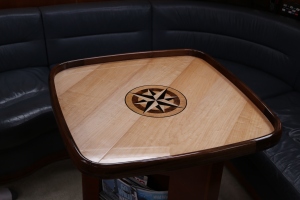
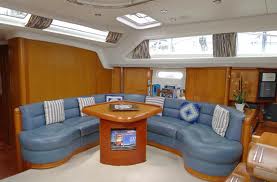 We looked at a number of options over a long period of time. Removing the poor veneer on the table showed more fire damage and the original wood was blackened from fire. We had success previously with the walls of the saloon being re-veneered and so we tried that, although the main part of the table was fine, there was a problem where the veneer got to the edges where the fiddle (grab rail on the edge of the table) was. We looked at whether we could put a fill in the corner so that the edge of the veneer would not show but everything we tried couldn’t deal with the very tight curves on the corners of the table.
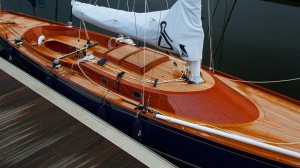 This unfortunately meant that Maria wanted something that wouldn’t look out of place on one of these. We spoke to a few people and Kevin was recommended to us. Kevin discussed options and he agreed that he could do something special with the existing workings of the table that would be a centre point of the saloon and would give Maria the table that she really wanted. Kevin spent a lot of time on the table and designed it with two compass roses when the table is extended with the fold out insert in place. When the table is smaller it has a single compass rose. Kevin quoted for the work and we were happy. We subsequently found out that he is a bit of a perfectionist, hence why Maria likes him so much 🙂 and he took the time to do a really good job even though it coincided with the birth of his child. He cant thank him enough. While the job was being done, Kevin had left us with a plywood top to our table base so that we could still use it while the work was being done. In March, the work was complete and despite having to delay the install for a week because we were away, the install was ready to happen on the 19th March. Kevin had offered to send photos through but Maria was unequivocal in her desire to see the table for the first time when it was in place.
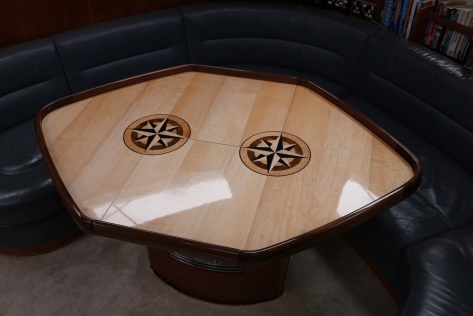 We are really, really pleased with the results.