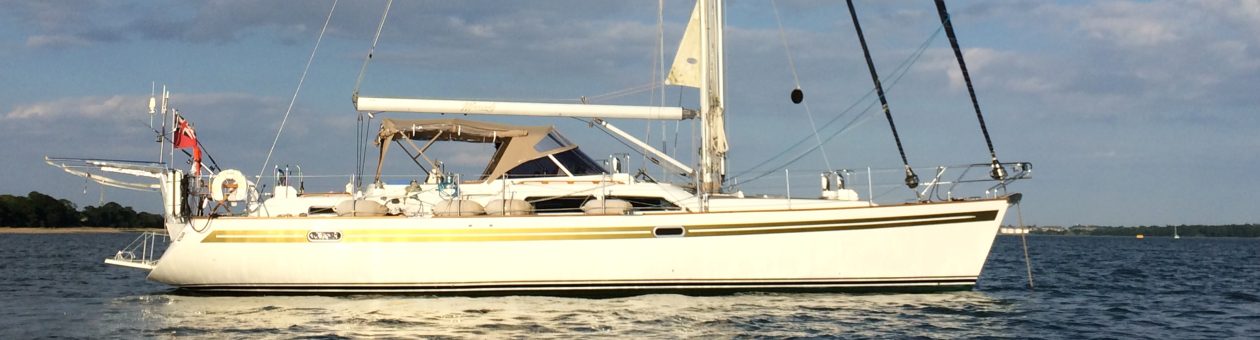
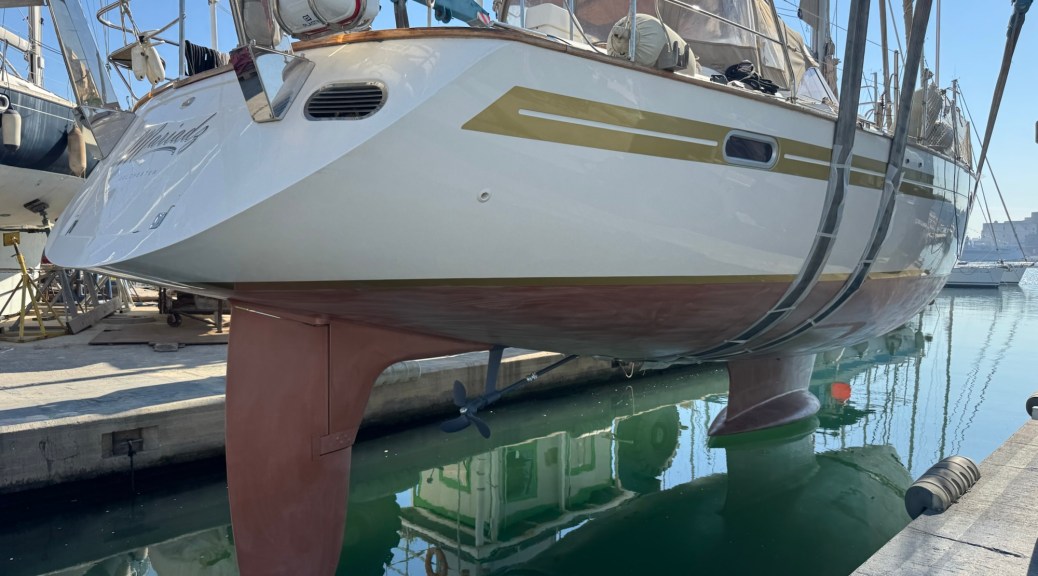
Three years ago, we travelled from the UK to Italy crossing Biscay after an extensive refit. However, for the last two years, the focus has been unavoidably on finishing the house to give us the ability to fund our grand adventure. This has meant that whilst Trullo Mariadz has gone from strength to strength, sailing yacht Mariadz has developed a few problems. Towards the end of 2025, we realised that the boat would need some work. Based on our experience with Danese in Brindisi, we didn’t want to take it there – I’m not a fan of someone that looks for a gas leak on a boat with a lighter! We decided to go into the main port and back to Balsamo who had done a little work for us when we lifted the boat to get cleaned and to change anodes.
However, the list was becoming extensive. During the 2022 refit, we had replaced the built-in fridge with a new unit which lost us a lot of fridge space but gave us a reliable fridge. At the time we discussed what we should do with the freezer and were told that the freezer was fine. Of course two years later and the freezer had failed completely. Our first inclination was to replace the freezer as a complete unit as we had done before but we were assured that a new cold plate within the freezer would be ample – we learned to rue taking that advice. However, the removal of the fridge several times, and if I am honest a lack of care with this, damaged the Lino floor, the wooden trim and indeed the fridge itself. All of these things got fixed but it was frustrating.
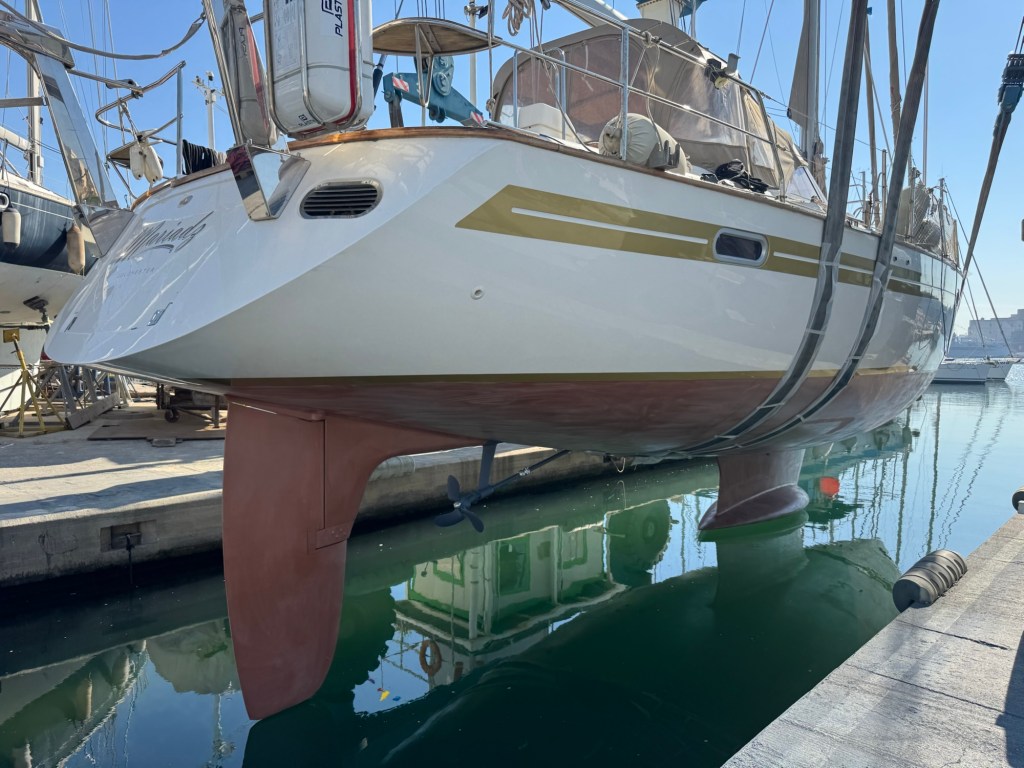
We have always liked copper oat and three years ago had it redone at Suffolk yacht harbour. However, I don’t think they prepared the old one well enough and I think the new coats didn’t take and fell off. When we got Mariadz out, it was clear that we did not have a thick coat of copper coat which there should have been after two applications in her lifetime. The dryer weather in Italy should suit the application perfectly and Balsamo did a great job of that.
We already knew about a leak in the gas system which balsamo fixed in minutes by adjusting the pipes, trimming and refitting. Such a simple fix but a weight off our minds.
The electric winches are about the only thing on the boat that have not been replaced and, to my shame, I hadn’t serviced them for a while either. We also had the remains of a bolt that had been mostly drilled out. I am not going round the world with an important winch which is only attached to the boat for four of its five mounts! Again this wasn’t a difficult job once the guys started looking at it, and they did a good job of extracting the remaining thread of the bolt like a stainless steel thread, returning the original thread to as new. Testing the winches didn’t go well either with one of the winches not working. Ollie has been our saviour so many times (and will be mentioned more here) and once again helped me to diagnose the problem. On this occasion a failed switch. The problem of course is that the switches are 25 years old and were discontinued nearly twenty years ago. The replacement is a different size and also substantially larger than the fifteen millimetres of depth. It meant I need to drill out the hole in our coach roof to for the new switches but we are now very happy with them. I fell short of changing all of the switches because the switch is directly above the electric winch motor and on the starboard side the drive is very close to the switch – I wasn’t sure there was clearance and I didn’t want to take the risk unless I absolutely had to! That can be a problem for another day especially as I have a functioning switch as a spare now. The winches also deserve a service and I have to admit I referred to my own notes from a few years ago, the moment fading as I get older.
Our ST1000 autopilot has a remote controller which is incredibly useful, however after twenty years the battery died. After checking on the internet it is possible to get a replacement battery, solder it to the harness inside the remote controller and voila!
The constant use of the boat, especially for the seven years we lived aboard, had taken its toll on the leather cushions. One in particular had ripped on a seam. Our fantastic friends Carlo and Sabrina recommended a reupholsterer in Ostuni. When we met him we instantly liked him, and by removing some of the bolster on the cushion, he was able to create enough overlap of the existing leather to fix the cushion. He was at pains to tell me, no kneeling or standing on the cushion, twice in Italian and once in English from his apprentice. I suspect he doesn’t want us to kneel on the cushion! An amazing fix and cost us about €30!
Regular readers will know that Maria likes the creature comforts and Mariadz was fitted with three air conditioning units. One was unserviceable due to a par that is no longer available and we had various leaks and issues with the others. At a boat show a number of years ago we had seen the Frigomar inverter technology, which doesn’t have the traditional big initial hit of power. They are quiet and efficient as was confirmed by a very nice Russian and Ukrainian couple when we were in the Straits of Messina. I had decided that if we were going to do this I would get the new air-conditioning units, fitting should be simple since they are a like for like replacement. The job was quite easy for the team at Balsamo and I also had them re-route a pipe that had been fitted wrong originally. Linked to the aircon was the fitting of the new fans. The sirocco fan in our aft state room had finally given up the ghost despite my best attempts to resuscitate it, so we needed a replacement. Maria also wanted one in the bunk room, where there was what looked like a prewar fan, which still worked but wasn’t good. So two new fans were bought and maria wanted these in our bedroom and the galley with the original galley one in the bunk room. Well that shouldn’t take too long…. All was going swimmingly until I got to the bunk room. Removing the old one was fine but the wiring for it went to an independent switch next to it. My initial thought was to keep that as an override but the wires were very tight and the solder on the switch poor which meant it disconnected. Ok plan b is remove the switch, join the two wires together and then use the rest of the existing wiring to fire up the sirocco. I wanted to solder the two wires together, not least of all because I could barely get any slack in one of them. Needing three hands, Maria helped me to do that and after a little swearing that part was done and my trust multimeter proved that it worked. I then go to the wire that will go to the sirocco which is about three inches too short to reach the terminals. More soldering! A three act drama but now we have three working sirocco fans.
One of our maintenance jobs is to regularly open and close the valves on the through-hulls. The last time I had done this I had noticed that one of the valves under the kitchen floor did not seem to work well. I asked the marina to change the valve, and they stated that the through hull also needed to be changed. Strange! Even stranger when they then said that all 20 needed to be changed. Again, if you have seen our blogs before, you will know that we had changed these a few years ago at considerable expense to have a final solution. I asked for the marina to wait until I arrived before doing anything else. In the end this was a god-send. This was the time that they realised we weren’t chequebook yachties with unlimited funds. I went on board and realised that in my absence, the valves had become very stiff. The boat was on the hard so I decided to start trying to unfreeze these. With a mixture of brute strength and extension pipes I was able to get the, working properly. When I showed the yard manager, Massimo, he got it, freed up the rest and we didn’t discuss changing them all again!
When in England, we had an automotive fitter remove all of our windows and refit them to overcome a common Moody issue of leaky windows. To our horror, a few years later these were leaking very badly to the extent that our beautiful interior wood was damaged, and water had got into our victron 5kw Quattro inverter charger and blown it. I was able to source a replacement which was easily fitted but it was a lesson on what happens when you leave the boat alone. However, our electrical problems weren’t over.
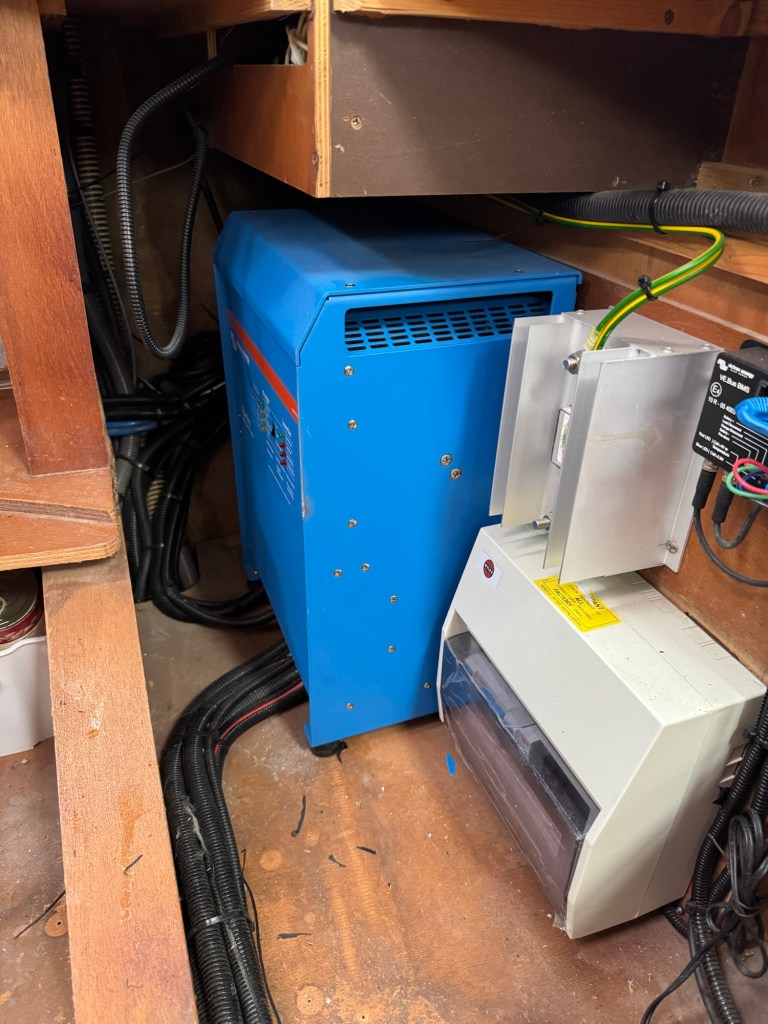
The new inverter charger kept tripping and we eventually traced this to the heating element on the water heater. We needed a replacement,ent and Balsamo were at a loss for where to source the UK sized element. Rather than replacing the entire boiler, I sourced two in the UK and brought them to Italy but that wasn’t the end of the trouble. Water had been around the top of the element and there was a fair bit of rust with the element being seized in place. Balsamo fabricated a large hexagonal tool out of steel but even this needed an extension bat to free up the old element. The new element went into place beautifully and despite a few teething problems with the temperature and safety cut off settings, this worked well. However, the pressure release valve was also faulty, fortunately I had sourced what I thought was a like for like valve since I was sure the original was a 3 bar valve. Once fitted this kept releasing as the hot water caused the pressure to go over the pumps 2.5 bar. I was told we would need a 5 bar valve and this was available quickly and did the trick.
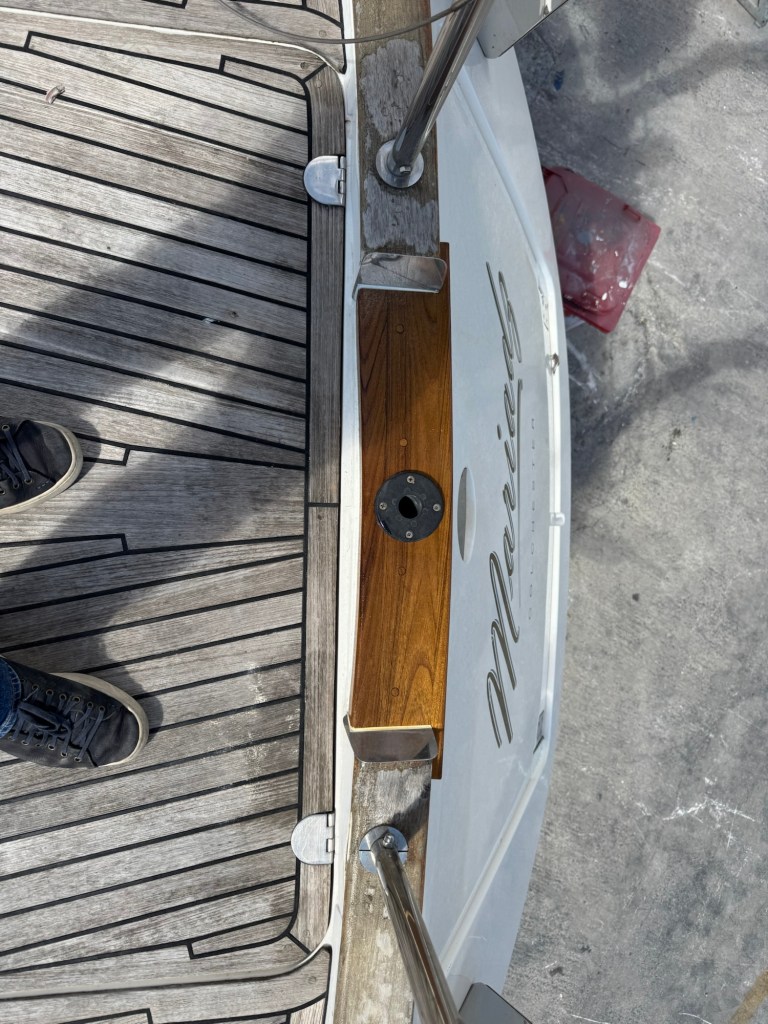
Mariadz has a toe rail at the stern and when docked stern to, I had noticed that the workmen placed a board on the toe rail at the stern. There was clearly an issue but on one of the occasions a chunk of this had broken off. Clearly no one had noticed and a repair was required. I was wondering whether we would have to fit a piece of wood into the original when the yard decided to replace the section of toe rail with new teak. They then varnished this and it looked amazing but of course made the rest of the toe rail look awful. We have tried to get a nice looking toe rail using various products and had shied away from varnish because of the maintenance but it is clearly the best. Maria and I agreed we should have the rest of the toe rail done and after negotiating a slightly better deal by doing some of the preparation work ourselves, we now have a beautiful varnished teak toe rail. Now to varnish it again regularly. Of course a beautiful varnished toe rail has to be adjacent to a wooden coloured teak deck, grey just won”t do. Fortunately, I had some teak wonder in my spares (replacement ordered, delivered, stored and inventorised) and maria and whiled away away a few hours, and layers of skin because of the acid, getting our decks looking beautiful again.
There was a little bit of work on the mast too. I know the rigging was fine but I had noticed that one of the spreader lights had half failed with three lights lit rather than six. I had already found the exact lights to replace them with and asked the yard to do this since I was just too bust with work. They fitted the first light, replacing the failing one, and when we tested them, they did exactly the same! We disconnected and brought them all down for a test – one of the new ones had failed in exactly the same way as our original. I bought them some time ago so have no recourse but it was frustrating. We have two working ones, one old and one new so we will go with that. While they were up there I asked them to lubricate the blocks at the top of the mast, unfortunately, this wasn’t too carefully done and a lot of drips from the silicon lubricant cam down and landed squarely on our new cockpit tent. These have stained it badly despite all of our best efforts to remove them. I did the rest of the blocks and running gear myself and they now all work beautifully.
One of the jobs I was looking forward to was doing a full inventory of everything in our storage areas. We have, and as you can see need, a lot of spares and when you need them, you don’t want to turn the entire boat upside down to find them. So one of my jobs was to categorise everything we have in the storage areas. It was fun and a
We found things that we knew we had but didn’t know where they were! The last stage of this was going through the lazzarette. Whilst doing this I noticed the hydraulic fluid was a little low and just before filling it up noticed a large split in the back of it, grrrr. Quite often on boats you find things from other vehicles being used and apparently our hydraulic fluid container is used on a Mitsubishi four wheel drive. Trying to source one in the internet revealed that they were only a few euros, result…. If you bought 200. I travelled around Brindisi seeing if there was anything that could be used. There wasn’t. When I approached Massimo his initial reaction was that we would fibreglass the whole thing, with a fibreglass bracket. Inspired. It looks brilliant and when I fitted it, the positing was not as exposed as previously so I suspect that it won’t get the same kind of punishment.
The rib, Connie, had been on dry land for the winter and it was now time to return her to the water and her place on the stern of Mariadz. One of the workmen, ricardo, tested her engine and made sure everything was working ok and she was left floating next to us overnight. The next morning I got up to check on her and to bring her round to go up on the davits at 7am. She has twelve inches of water inside her, lapping at the bottom of the battery. I am assuming that this is from the drain hole and a plug that hasn’t been fitted as I start to empty her, initially with a hand pump and then with a submersible electric pump. However, it looks worse than that with water coming in from the support structure for the stern which has a couple of hairline cracks. The guys get her out of the water and set about revealing the whole stern section. The next day, we are ready to try again. After a few minutes it is clear water is still coming in and we are all looking very worried. Connie is back out and in the work area. I suggest we fill her with water and see where it drains from and we set about doing this. Not too deep as it is the opposite pressure to normal. There are a few drips from the stern but nothing significant and a little more work in this area sorts this out. However, there seems to be something odd going on at the lifting points for the bow. These have stainless pads on the outside, one of which has some rust on it and the other is dripping. We agreed that we will remove these completely reseal them and tighten everything up. We can then test everything over a couple of days. As you will see she was bone dry, despite a couple of related mishaps from my side, so a success. Especially when you consider that the yard and Maria were looking at new boats to replace her!
Whilst doing the lazarette I noticed that the hydraulic ram had failed, when the lid came down sharply on me! That had to be replaced and we may as well do the other after locker while we are at it.
Having done lots of work, we decided a test sail would be in order and decided to return to Corfu, with our great friends Carlo and Sabrina with their son Dario. That trip is described elsewhere but at the end of it we had a few more jobs to do…
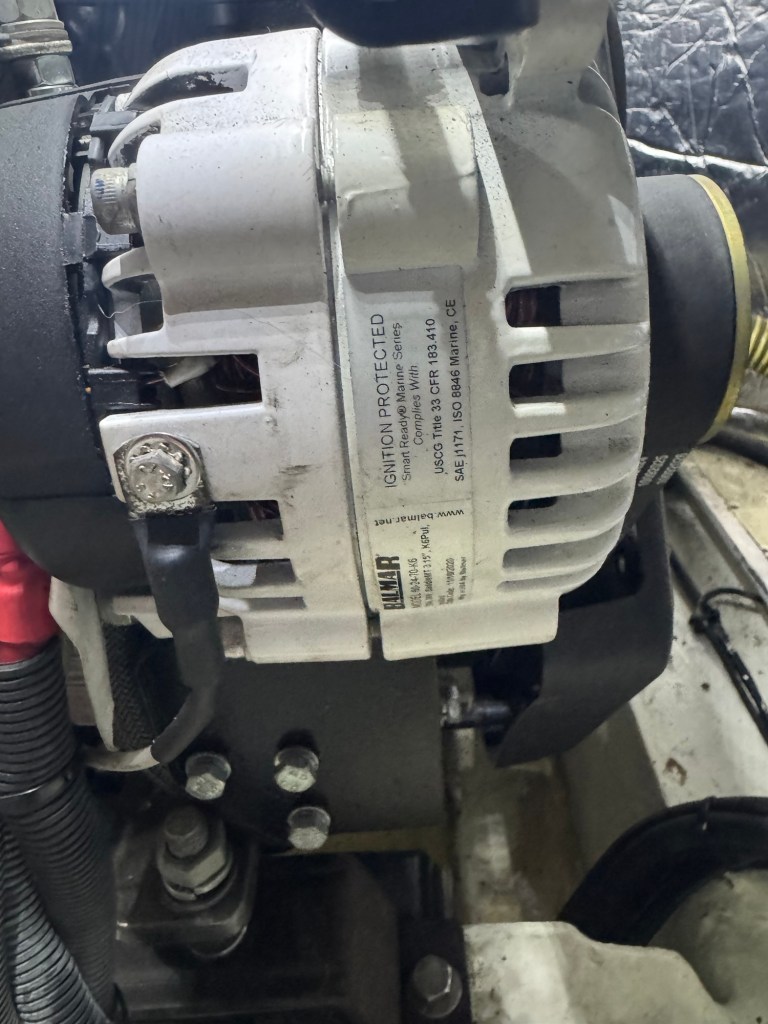
On our return, there are a few jobs to do, some of which are below but I also noticed that the teak deck on the swim platform floor has come away. We have re glued this but the full solution would be to replace this – perhaps when we get somewhere with cheap teak! However, a major problem is that for the whole of our trip, the engine would not charge our batteries. Ollie to the rescue with a list of things to check. We went through all the diagnosis, changed some older fuses but still no luck. At this stage, having worked back from the batteries, it must be an issue with the intelligent alternator. I have checked a few things, battery voltages are coming through well, no error messages on the control panel. Ollie then suggests removing the blue and white charge wire from the alternator. It is incredibly hard to reach but I get my hand in there. I decide to press it first before pulling at it and there is a reassuring click. Surely not! Surely. Engine revs up and 1kw is flowing into my batteries. What a shame I didn’t thing to check this on our holiday! I suspect it had happened when the engine was serviced, it is quite near a filter and I can imagine it could get knocked. Another frustrating issue but thankfully with a simple fix.
It is then time to attack the TV that stopped working on the trip. Firstly it is clear that the tv needs to be lower on the stand but that isn’t possible because the top mounting hole has a part missing, and it is rattling around in the tv. There is also the small matter of the tv not switching on. At this stage I have already ordered a replacement, this has been problematic for a few years now, but as usual I am keen to understand what the problem is. Since I will have to remove the back of the tv retrieve the floating piece of plastic, I take it into the aft stateroom. I actually have a lower supply for an avtex here so no harm in trying… the TV boots up first time no problems. Cancel order for new tv. After removing 20 small screws and a couple of clips for the electronics, I can see the problem with the back of the tv. So I reposition the floating piece of plastic, secure it and put the tv back together. All good. Plug it into the power to check it works… nothing. No. Plug the original tv back into its own power, nothing. Check I haven’t tripped anything, panel looks good! Oh {please add your expletive of choice}. So now I have two broken TVs. I decide to try the bedroom one first. The access is good for the power and I recall there are two lots of power fed from the box, one for the sirocco fan and one for the TV, as I look, I can see a loose wire, I must have pulled it a bit hard by mistake. That seems fine except the negative is wired into the earth wire! The sirocco is wired how you would expect, positive to positive and negative to negative and I decide I will rewire it properly. Once this is done everything is working fine – including the large TV so now to understand what is going on in the saloon. For historical reasons we have a 24v to 12v converter in this setup which the avtex doesn’t need but the original tv did. When I look at this, we have power going in and power is coming out but hang on, the connector isn’t connected. It should be a crimped connector which appears to have been held together with blue electrical tape! Again that is going to change! A nice new insulated crimped end is added and now we have perfect power again. Hopefully the end of our TV problems since I can now mount it a bit lower using the repaired top connectors 🙂
As I fly back on the 24th July, the day before we start the grand adventure, there are still a few things to do and I have a large bag of spare parts, essentials (chocolate and ginger nuts) and several bikinis for maria (also described as essentials since she has lost weight and her old ones now fall off her!)
The last few jobs are;
- to replace the bulbs for the navigation lights on the bow which have got corroded and failed under the water splashing over the bow,
- Fix some of the interior LEDs which are failing after being replaced fifteen years ago.
- The rubber around our windscreen needs replacing and it is on order
- I also need to check the solar panels, I suspect one isn’t working, hopefully just a loose connection
- Fix the WiFi booster where I think the power over Ethernet block has failed again.
Oh and whatever else breaks as we start our journey …
 Mariadz
awesome description Adam!! My Moody is on the boatyard for 3 month, then headed to Antigua and the Caribbean for the winter! Ive done a lot to the boat, looking forward to meeting you guys in person! Are you on Noforeignland?
hi thanks for the kind comment we are undertaking the ARC this year so we can meet up. Just left Brindisi on way to Canaries